Tuna Sandwich Recipe
Simple yet delicious, these homemade tuna sandwiches combine fluffy, soft buns with a creamy, flavourful filling. With every bite, you’ll enjoy a balanced mix of crunch, spice, and the familiar flavour of classic tuna salad—all in a fresh, homemade bun!
2 h
Easy
6-8
Recipe Ingredients
Ingredients for the Buns
- 1×7 grams sachet of dried yeast
- 1 teaspoon caster sugar
- 4 tablespoons water, lukewarm
- 400 grams plain flour
- 1 teaspoon salt
- 240 millilitres milk, lukewarm
- 1 large egg, at room temperature
- 50 grams unsalted butter, softened
- 1 tablespoon honey
- 2 tablespoons milk for brushing
Ingredients for the Tuna Filling
- 300 grams canned tuna, drained
- 3 tablespoons mayonnaise
- 1-2 tablespoons Dijon mustard
- 1 green bell pepper, finely diced
- 1 small red onion, finely chopped
- Juice of ½ lemon
- Salt and ground black pepper to taste
- 2 tablespoons fresh parsley, chopped
- Lettuce, tomatoes, or pickles for serving (optional)
Methods
1. Activate the Yeast
In a small bowl, dissolve the yeast with 1 teaspoon of caster sugar in 4 tablespoons of lukewarm water and leave to stand until the yeast is foamy. It takes about 5-10 minutes. If it is not foamy, start with new yeast. While the yeast is activating, measure all the ingredients to ensure even baking.
2. Make the Dough
In a large mixing bowl, combine 400 grams of plain flour and 1 teaspoon of salt. Make a well in the centre of the flour mixture and pour in 240 millilitres of milk, then add 1 egg, 50 grams of softened unsalted butter, 1 tablespoon of honey, and the activated yeast. Knead with the dough hook of the electric mixer for 5-7 minutes, or by hand for 8-10 minutes until smooth and elastic.
Transfer the dough to a lightly oiled bowl, cover it with a tea towel, and let it rise in a warm place for about an hour, or until it doubles in size.
3. Shape the Buns
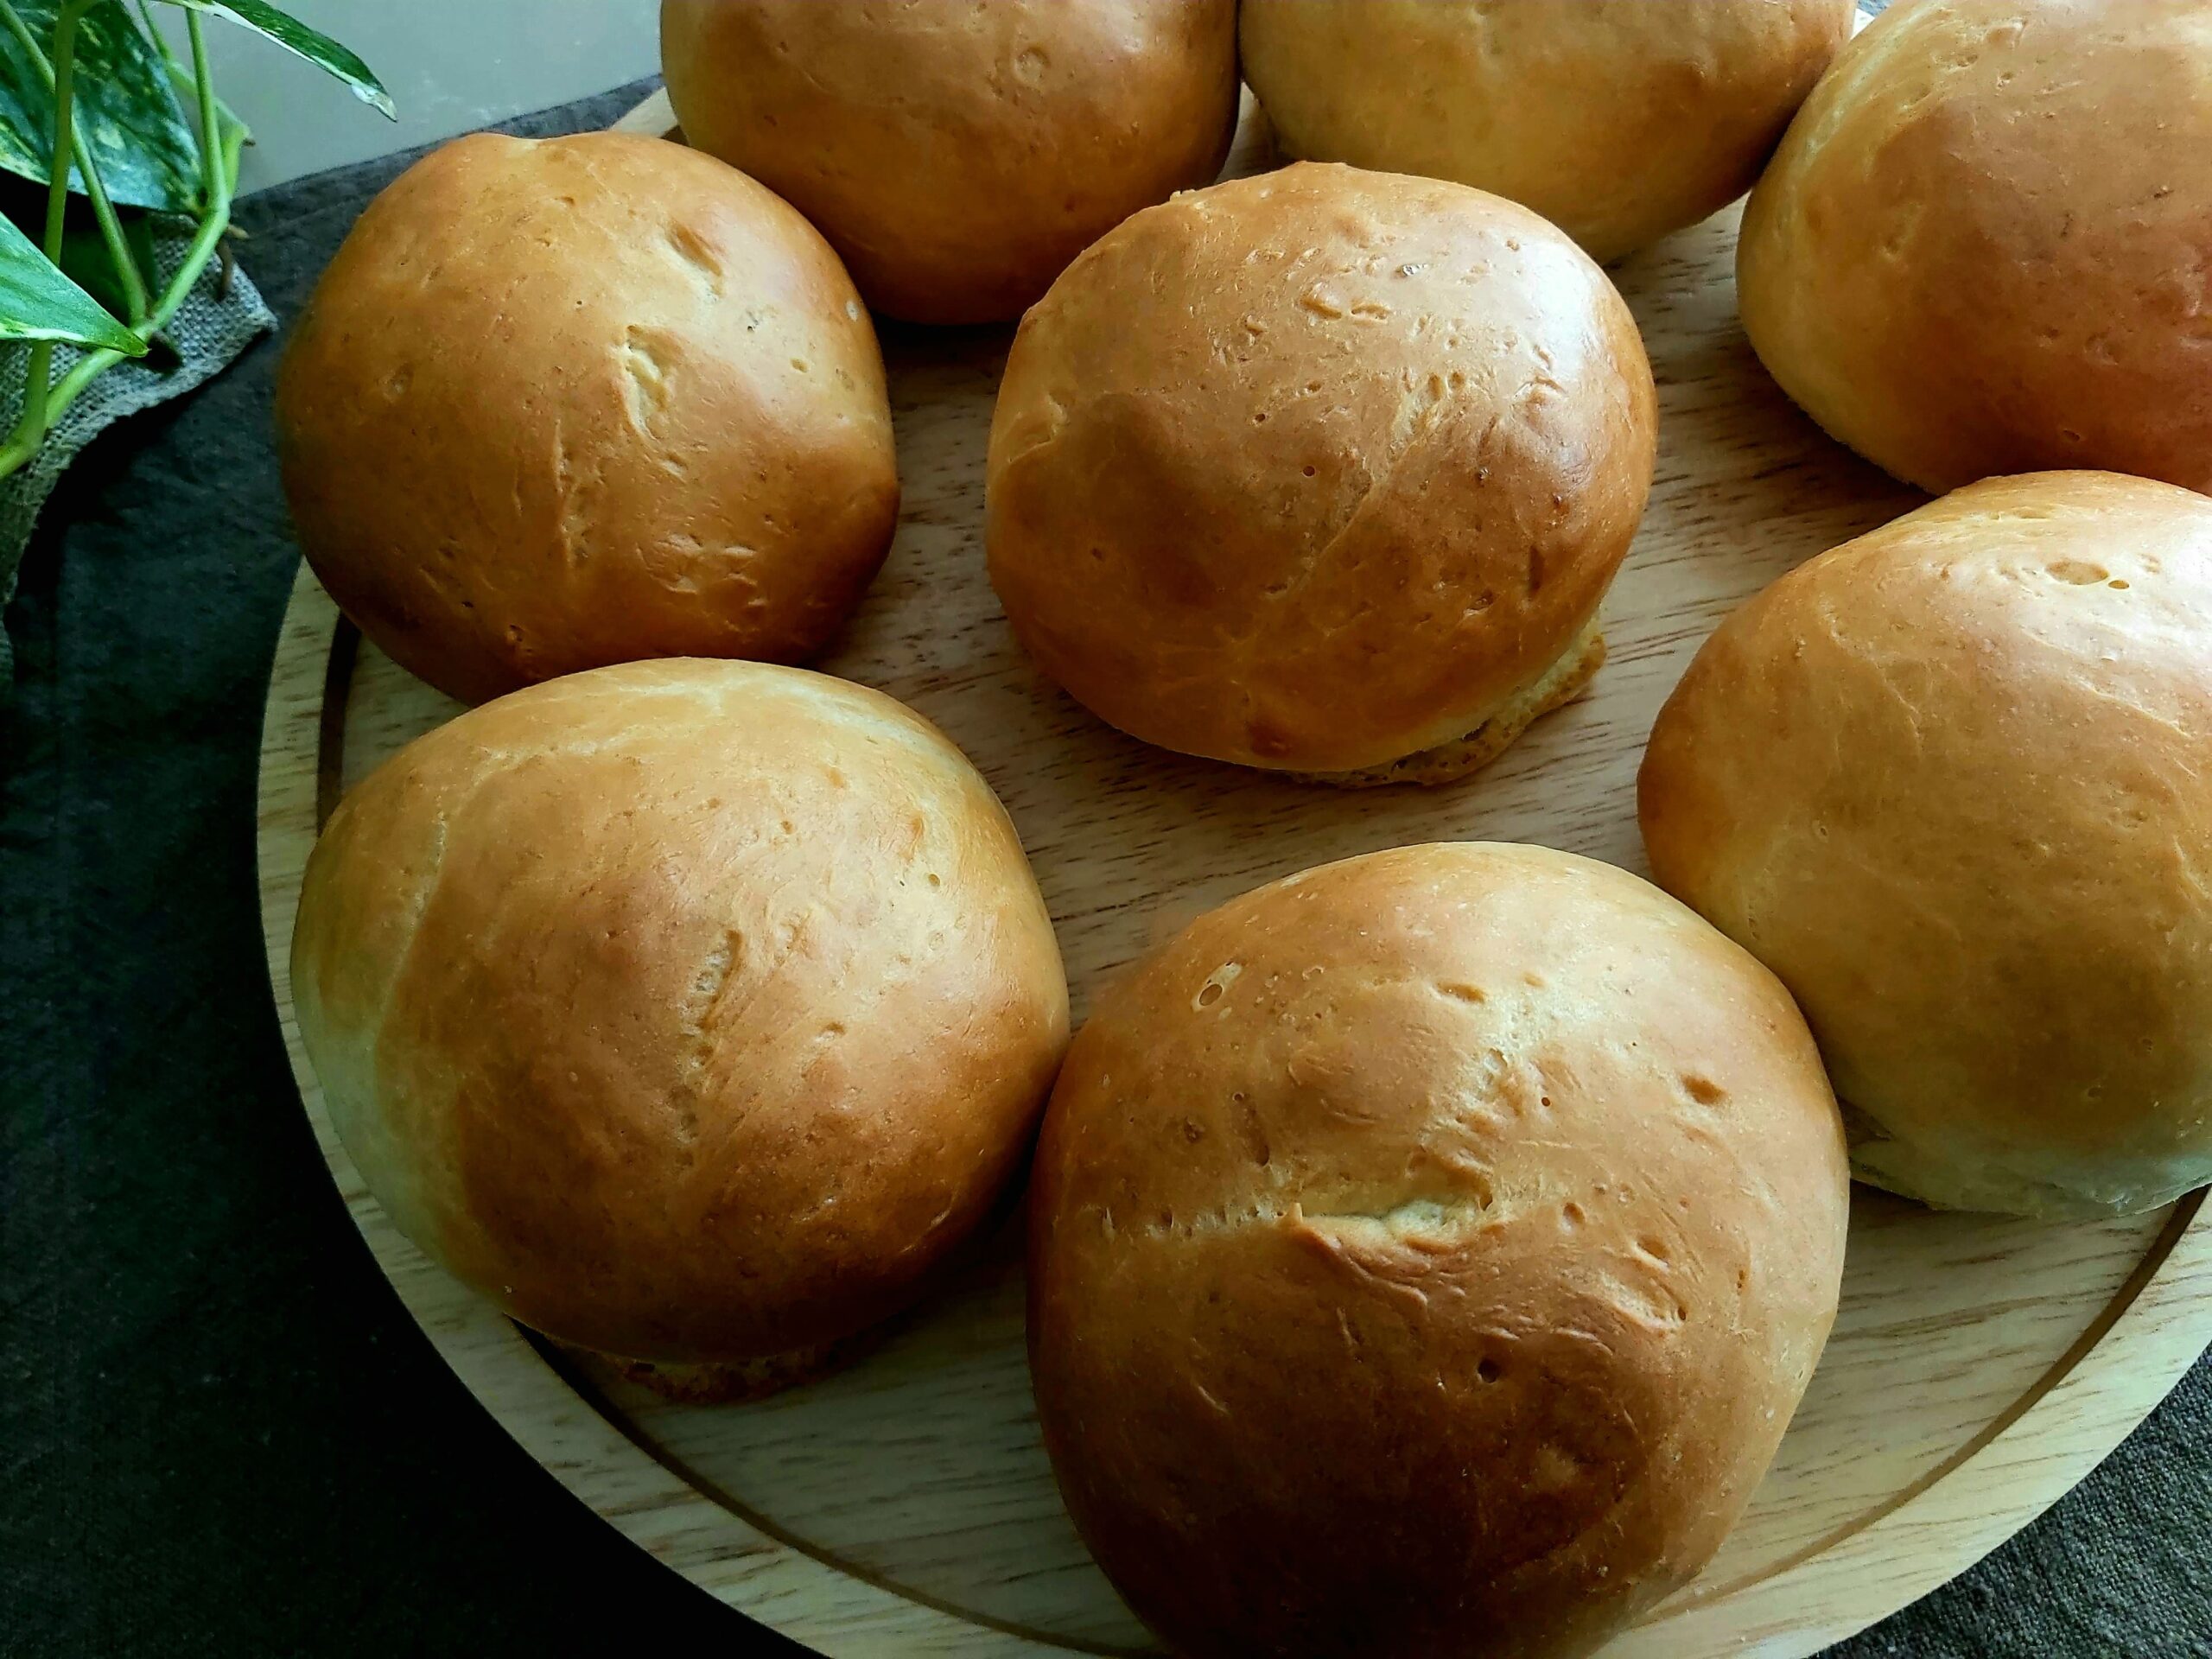
Once the dough has risen, place it on a lightly floured work surface and knead it a few times to release any air bubbles. Divide the dough into 8-10 equal parts. Form each piece into a ball and place on a baking tray lined with baking parchment.
Cover the buns with a tea towel and let them rest for another 30 minutes.
4. Preheat the Oven and Bake
Towards the end of the resting time, preheat your oven to 190°C (375°F). Brush each bun generously with milk for a nice finish. Bake in the preheated oven for 15-18 minutes, or until the buns are golden brown.
Once baked, allow the buns to cool slightly.
5. Prepare the Tuna Filling
In a medium bowl, combine 300 grams of canned tuna, 3 tablespoons of mayonnaise, and 1-2 tablespoons Dijon mustard. Stir until creamy with a fork.
Stir in 1 finely diced green bell pepper, 1 finely chopped red onion, and the juice of ½ lemon.
Season with salt and ground black pepper to taste. Add 2 tablespoons of chopped fresh parsley for a bright, fresh flavour.
6. Assemble the Tuna Sandwich
Spread the tuna filling on your cooled, sliced buns. Add lettuce, tomatoes, or cucumbers if desired for more crunch and freshness.
Note: If you make the buns ahead of time, store them in an airtight container at room temperature for up to two days or freeze them for up to a month. Just add the tuna filling when you are ready to enjoy it!
Tips for Perfect Tuna Sandwich
Here are some tips to make your tuna sandwiches extra delicious:
Kneading the Dough: Knead the dough until it is smooth and elastic. This usually takes about 8-10 minutes by hand, or 5-7 minutes with a dough hook on a stand mixer. Proper kneading develops the gluten and gives the buns their characteristic soft and chewy texture.
Rising Time: Let the dough rise until it has doubled in volume. This may take approximately 1 hour, but the exact time may vary depending on room temperature. The dough should stand in a warm, draft-free place.
Drain Tuna: Ensure the tuna is well drained to prevent a watery filling. You can even press it lightly with a fork in a colander to remove excess moisture.
Season Generously: Tuna can be a little mild, so don’t be afraid to season with salt, pepper, and a squeeze of lemon juice. A pinch of smoked paprika or cayenne pepper can add a subtle depth to the flavour.
Variations
Herbs and Cheese: Mix 30 grams of grated cheese (such as Cheddar) and a teaspoon of dried herbs (such as rosemary or thyme) into the dough.
Whole Wheat Addition: Replace up to 120 grams of plain flour with whole wheat flour for some nuttiness and extra fibre.
Cool the Filling Before Serving: Let the filling rest in the refrigerator for about 15 to 30 minutes to let the flavours meld.
Related Recipes
Looking for more simple yet delicious recipes? Check out the following recipes too:
Conclusion
Next time you’re craving a sandwich, skip the store-bought bread and explore this homemade version. The combination of soft buns and creamy tuna filling is unbeatable. Add a side dish of fresh vegetables or a cup of soup, and lunch is served. Enjoy!
Other Recipes

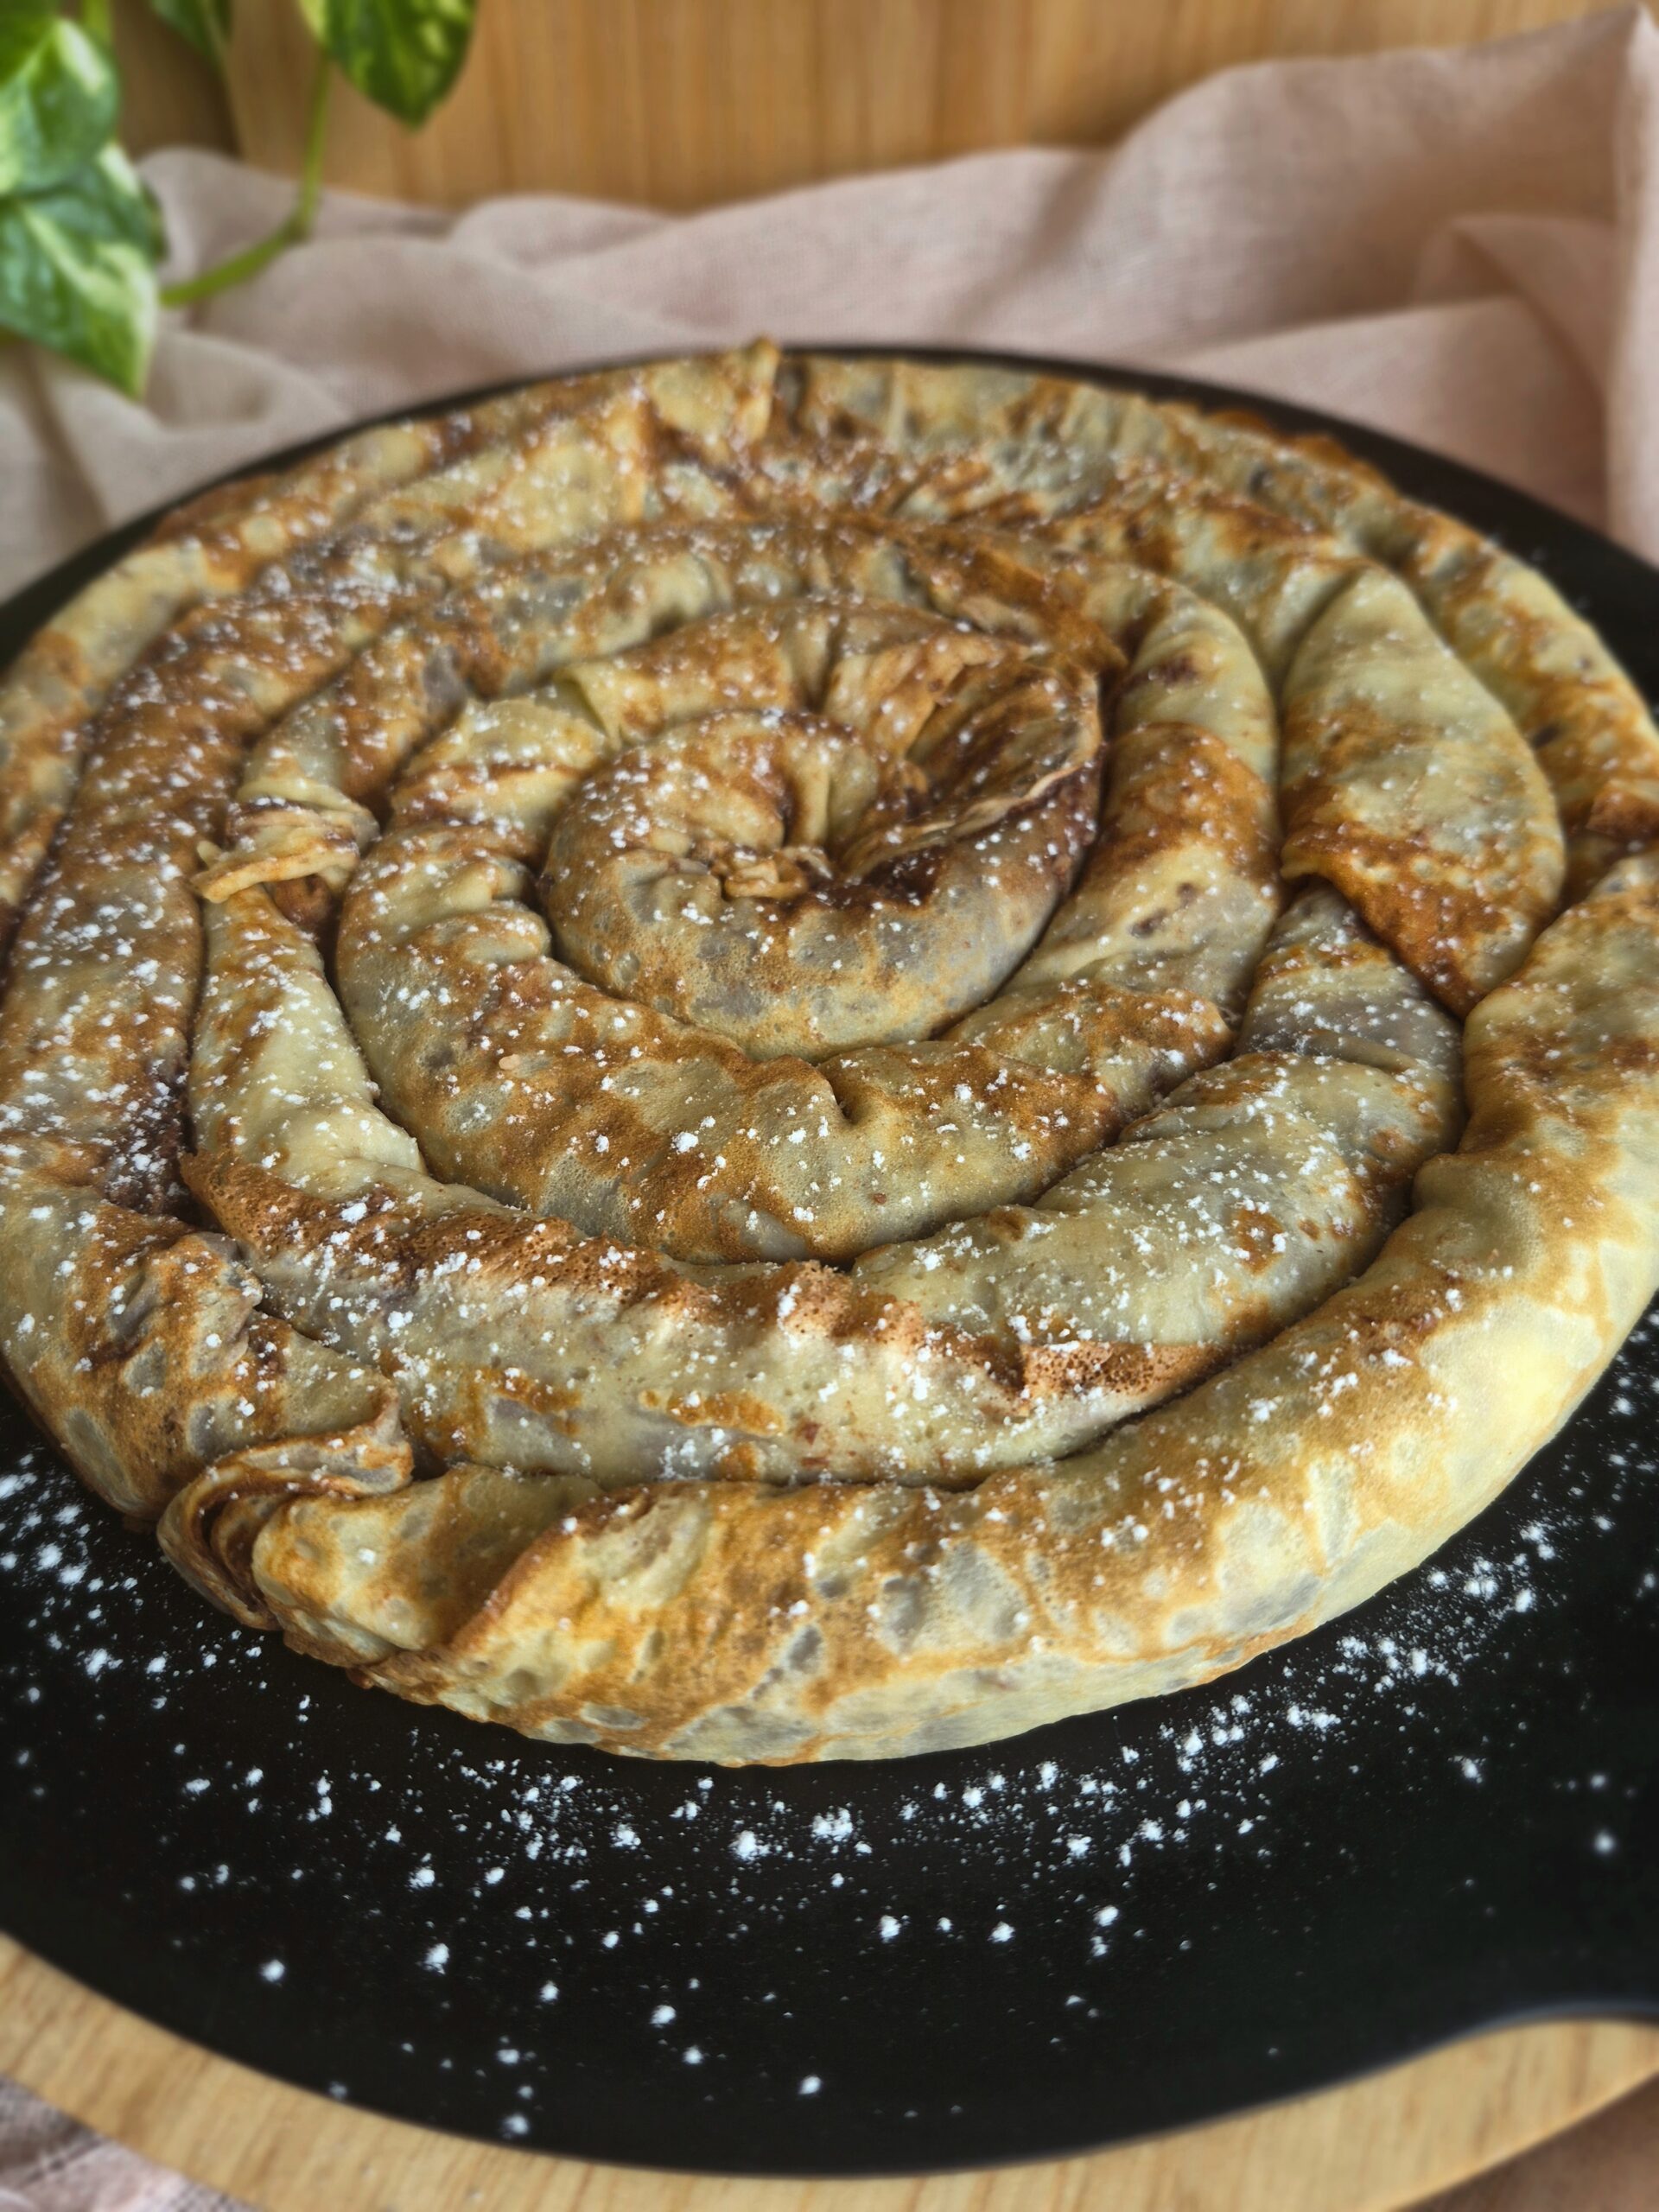
This crêpe cake is rolled, not stacked. Instead of layering dozens of crêpes with soft cream, this version is built into a spiral: overlapping crêpes are rolled with a chocolate-nut filling, then set in a round tin and chilled for clean, elegant slices.

Raspberries bring brightness, rose adds softness, and cream cheese ties everything together. These Raspberry Rose Rolls are elegant without being fussy — a gentle, fragrant bake that feels special but still comforting.

This strawberry rolled layer cake is built from thin sponge layers, filled, rolled, and assembled into a soft spiral that slices cleanly and holds its shape. Light, elegant, and designed to showcase roasted strawberries without excess cream.

These cinnamon rolls lean into warmth rather than sweetness. Finely ground walnuts add depth, orange zest brings freshness, and mahleb — used very sparingly — gives a subtle almond-cherry note that feels both familiar and quietly festive. This is not a loud roll. It’s layered, aromatic, and gently balanced.

I love exploring how one technique can take many forms. These savoury swirl muffins are a smaller, everyday version of a rolled bake — simple ingredients, soft dough, and a filling that works especially well in winter.

There’s something deeply comforting about rolled dough filled with warm vegetables. This winter veggie roll brings together olive oil–yogurt dough and a gentle, wintery vegetable filling for a bake that’s simple, seasonal, and quietly satisfying.

Comments