Coconut Cream Cake
This Coconut Cream Cake is a delicious treat that combines the richness of white chocolate, the tropical essence of coconut, and the silky smoothness of whipped cream.
40 min + 6 h
Medium
4-6
Recipe Ingredients
Ingredients for the Coating
- 60 grams milk chocolate chips
- 1 teaspoon coconut oil
Ingredients for the Filling
- 200 millilitres whipping cream
- 200 grams white chocolate chips
- 50 grams desiccated coconut
Ingredients for the Finish
- 80 grams milk chocolate chips
- 2 teaspoons coconut oil
- 30 grams white chocolate chips
Methods
1. Coat the molds
Melt the chocolate and coconut oil in a heatproof bowl over a water bath. Ensure they are fully combined. Pour the melted chocolate into the hemisphere molds, making sure it evenly covers the inside of each mold. Tip out any excess chocolate. Let the molds rest in the refrigerator for approximately one hour to allow the chocolate to harden.
2. Prepare the coconut
Heat a skillet or pan over medium heat. Add the desiccated coconut to the pan and toast them, stirring constantly. Toasting the coconut enhances its flavour. Watch the coconut closely, as it can quickly burn. Remove it from the heat as soon as it reaches the desired level of roasting. Set the coconut aside and allow it to cool completely before continuing.
3. Make the filling
In a saucepan, heat the whipping cream, avoiding boiling. Remove it from the heat and stir in the white chocolate chips and the toasted coconut. Stir until all the ingredients are well combined.
Remove the molds from the fridge, placing them on a tray or cutting board for easier handling later.
Using a piping bag or a spoon, fill each mold with the cream mixture. Place the cream-filled molds in the fridge and let the filling set for at least 5 hours, preferably overnight.
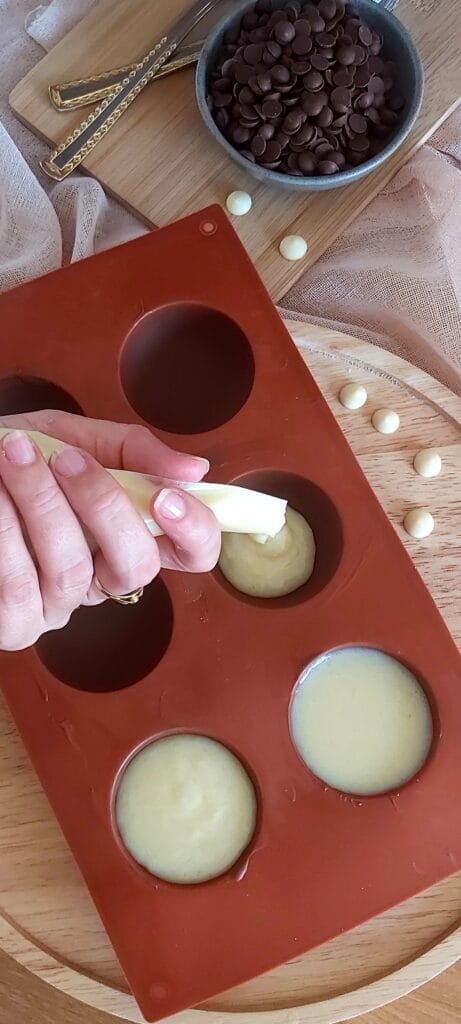
4. Finalize
Melt the 80 grams of milk chocolate chips and one teaspoon of coconut oil in a heatproof bowl over a water bath. Using a piping bag or a spoon, pour the melted chocolate onto the filling, sealing the cakes. Let the cakes set for one hour until the chocolate hardens.
5. Serve
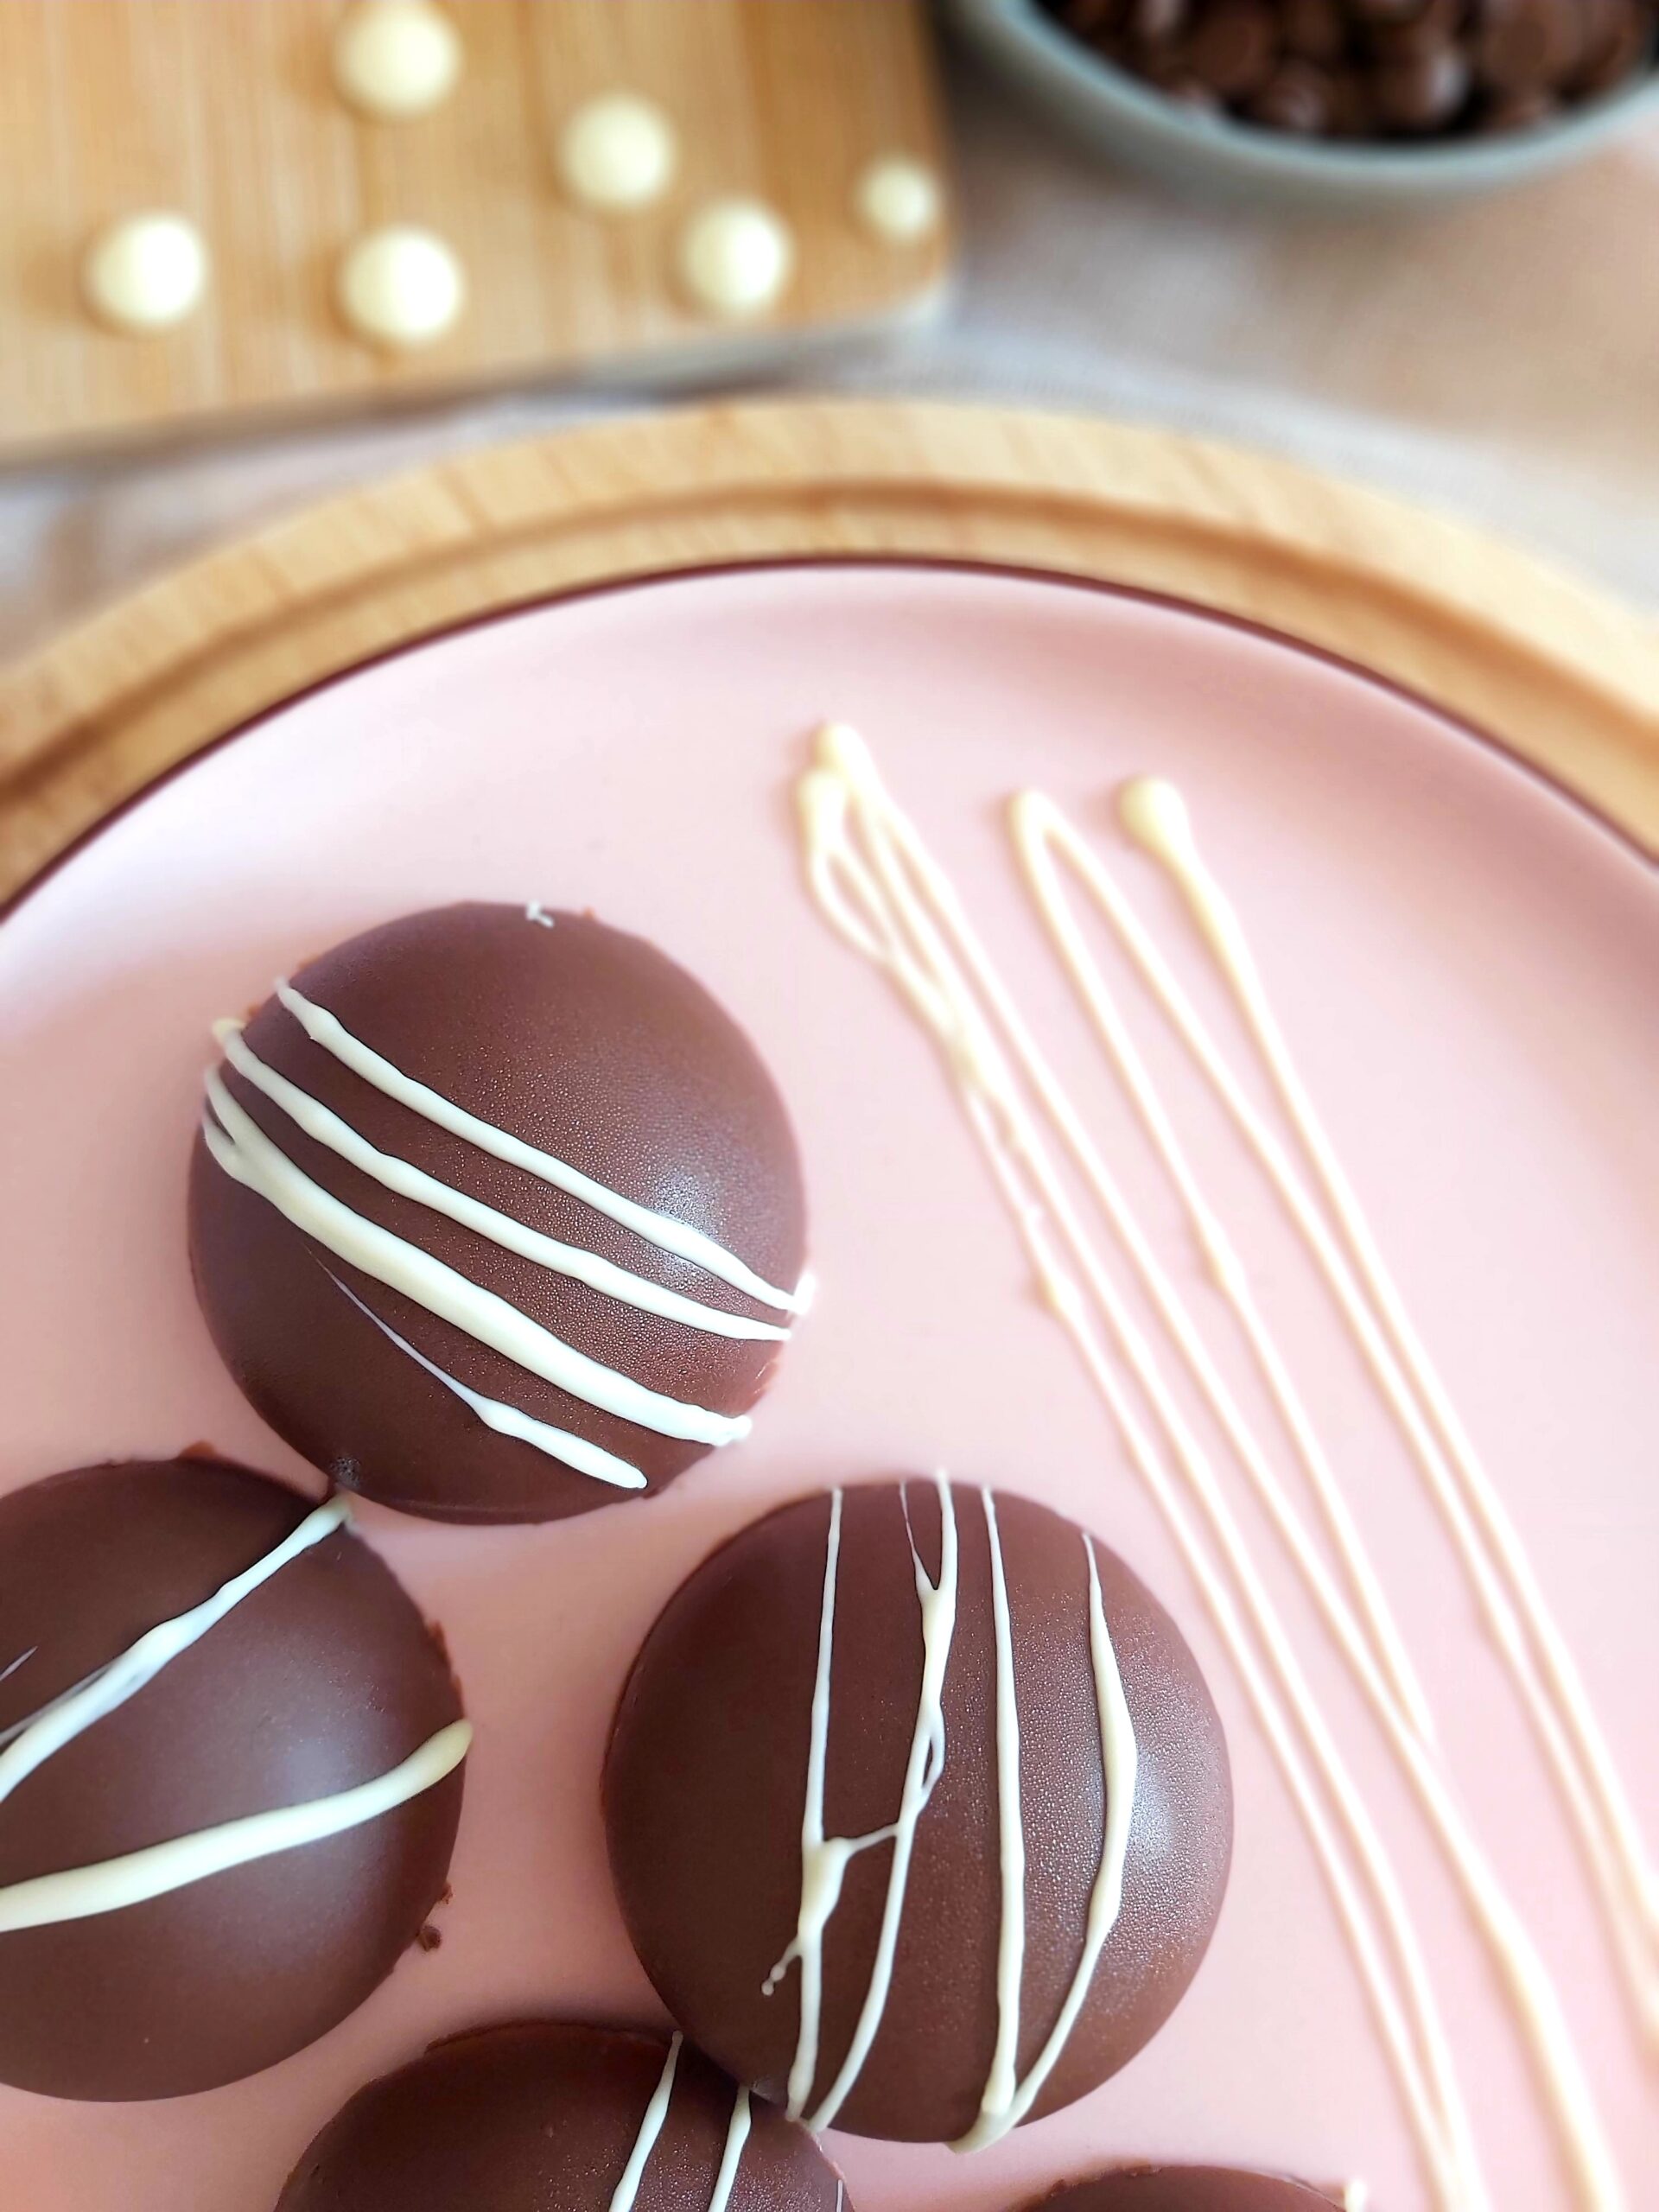
Once the chocolate is set, gently remove the cakes from the molds and arrange them on a plate or tray. Melt the 30 grams of white chocolate chips and 1 teaspoon of coconut oil and garnish the cakes.
Enjoy!
You may also like
Other Recipes
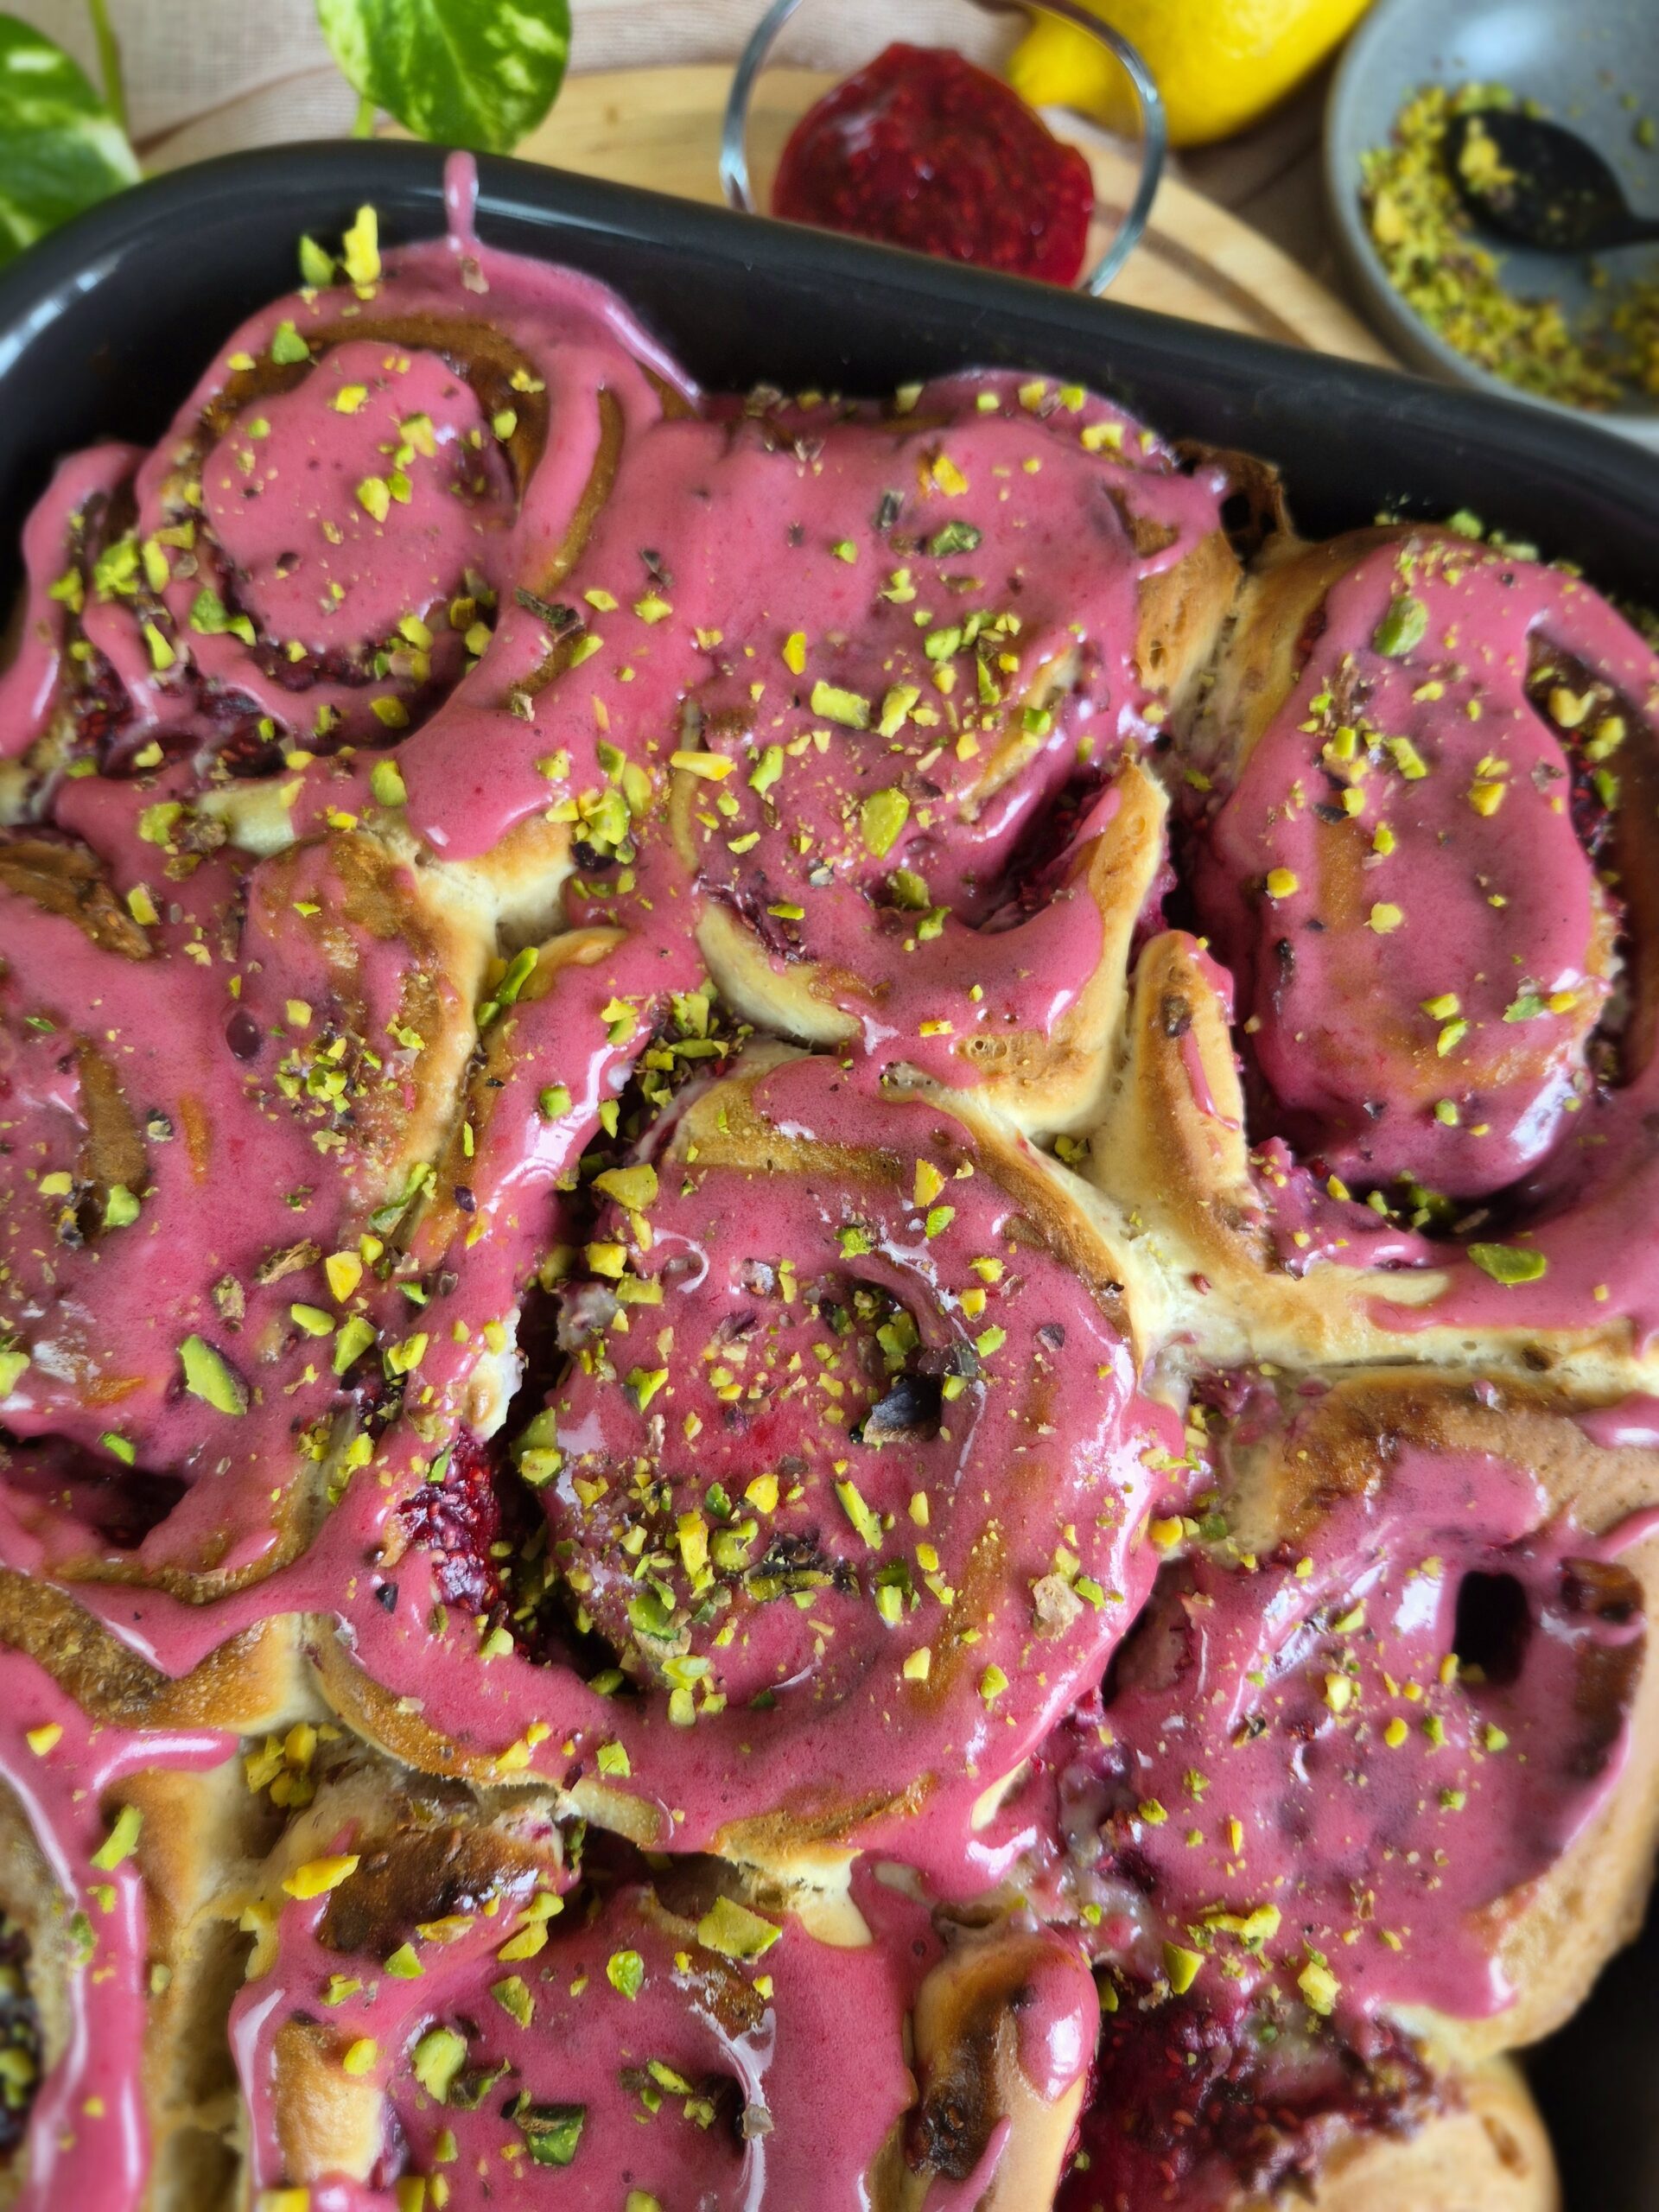
Raspberries bring brightness, rose adds softness, and cream cheese ties everything together. These Raspberry Rose Rolls are elegant without being fussy — a gentle, fragrant bake that feels special but still comforting.
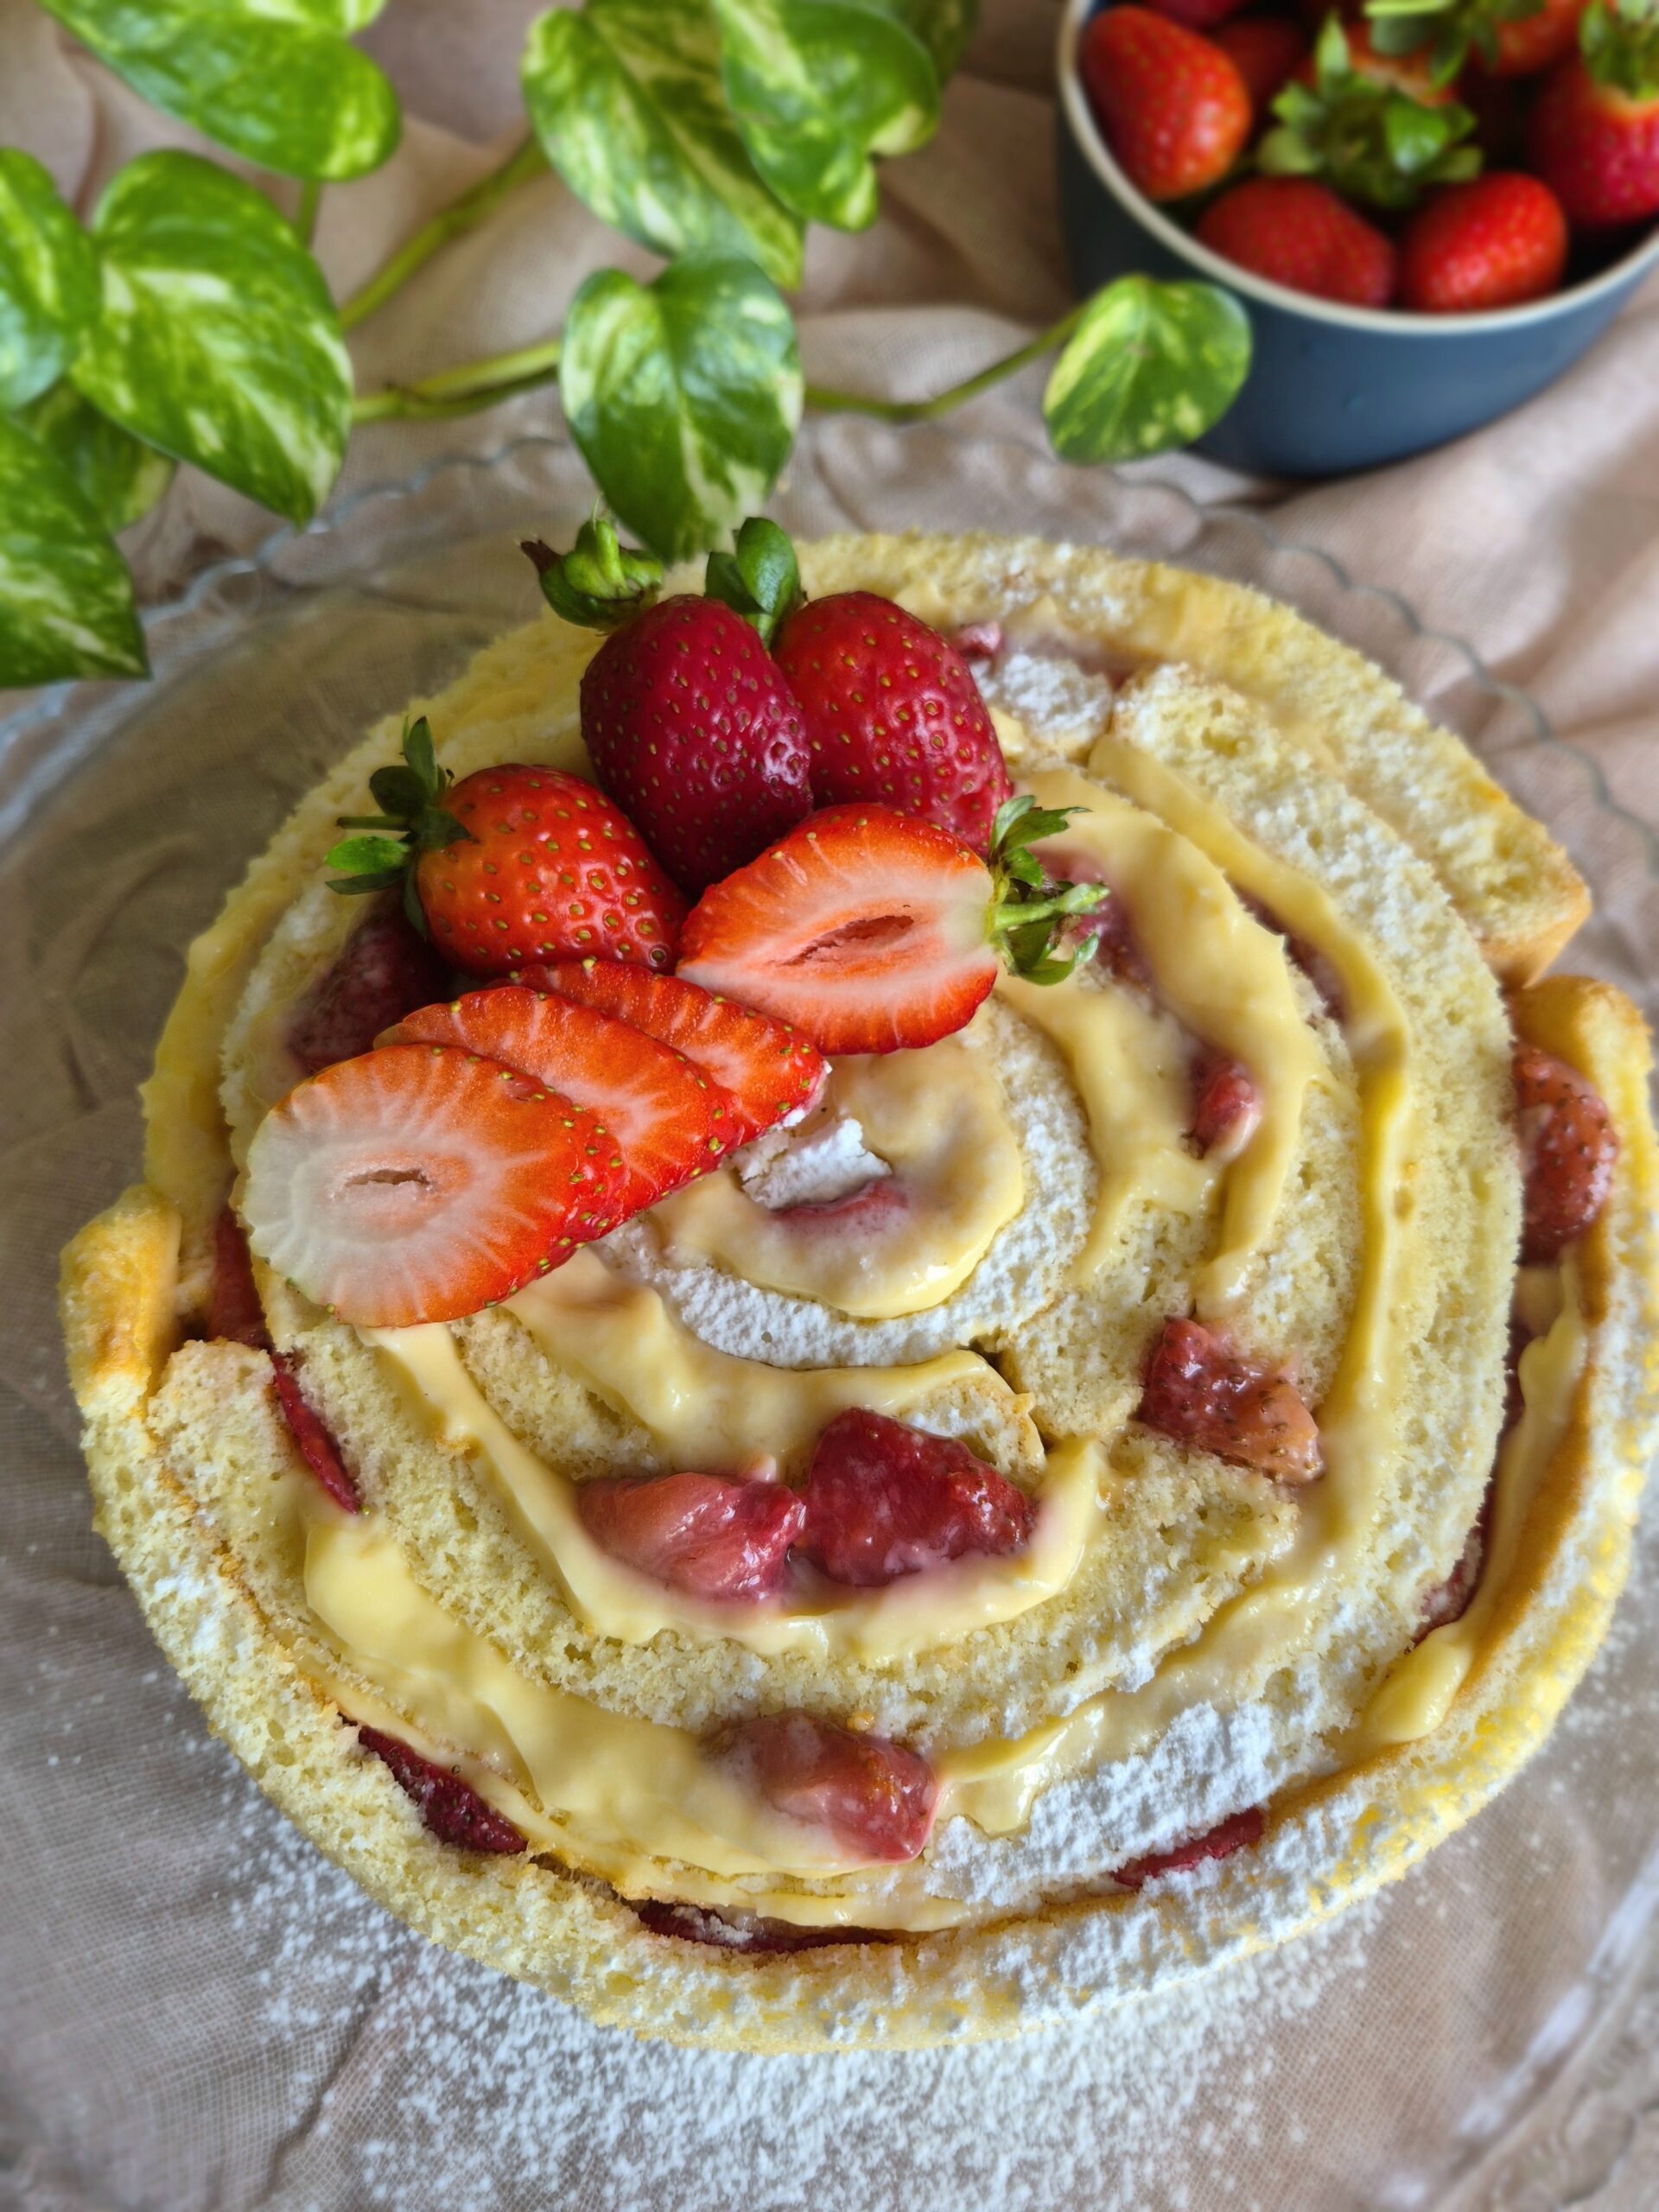
This strawberry rolled layer cake is built from thin sponge layers, filled, rolled, and assembled into a soft spiral that slices cleanly and holds its shape. Light, elegant, and designed to showcase roasted strawberries without excess cream.
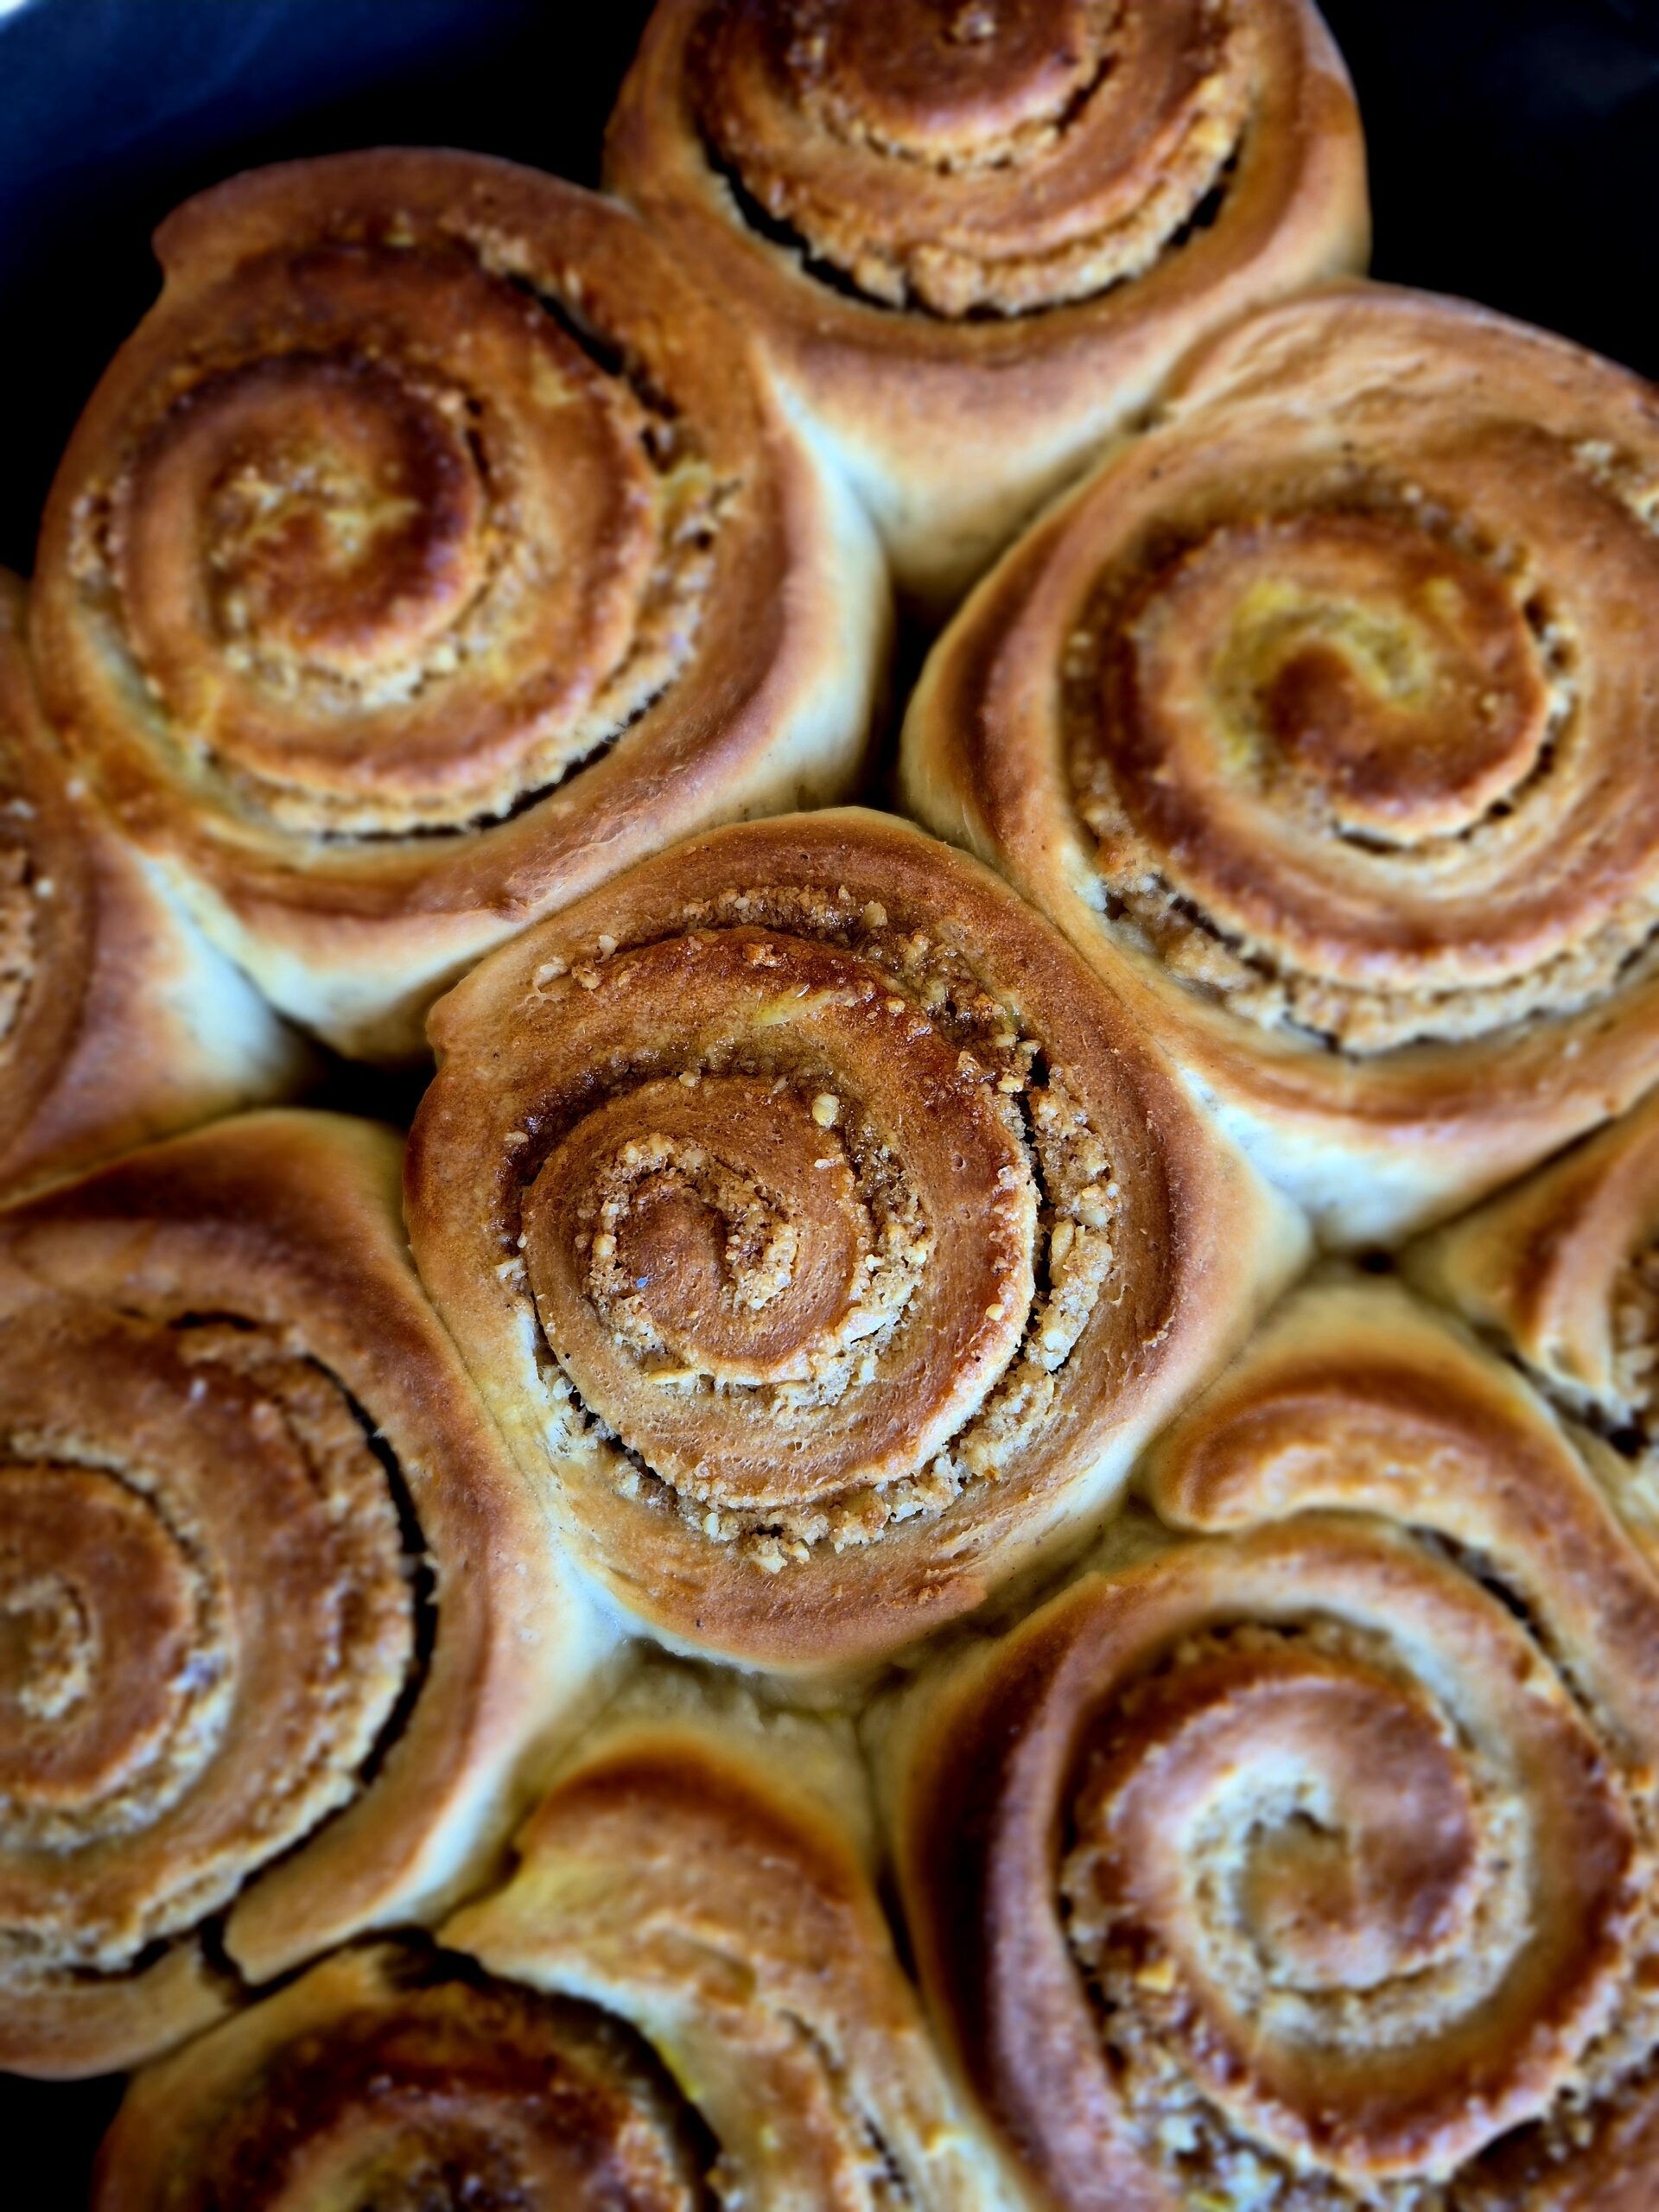
These cinnamon rolls lean into warmth rather than sweetness. Finely ground walnuts add depth, orange zest brings freshness, and mahleb — used very sparingly — gives a subtle almond-cherry note that feels both familiar and quietly festive. This is not a loud roll. It’s layered, aromatic, and gently balanced.
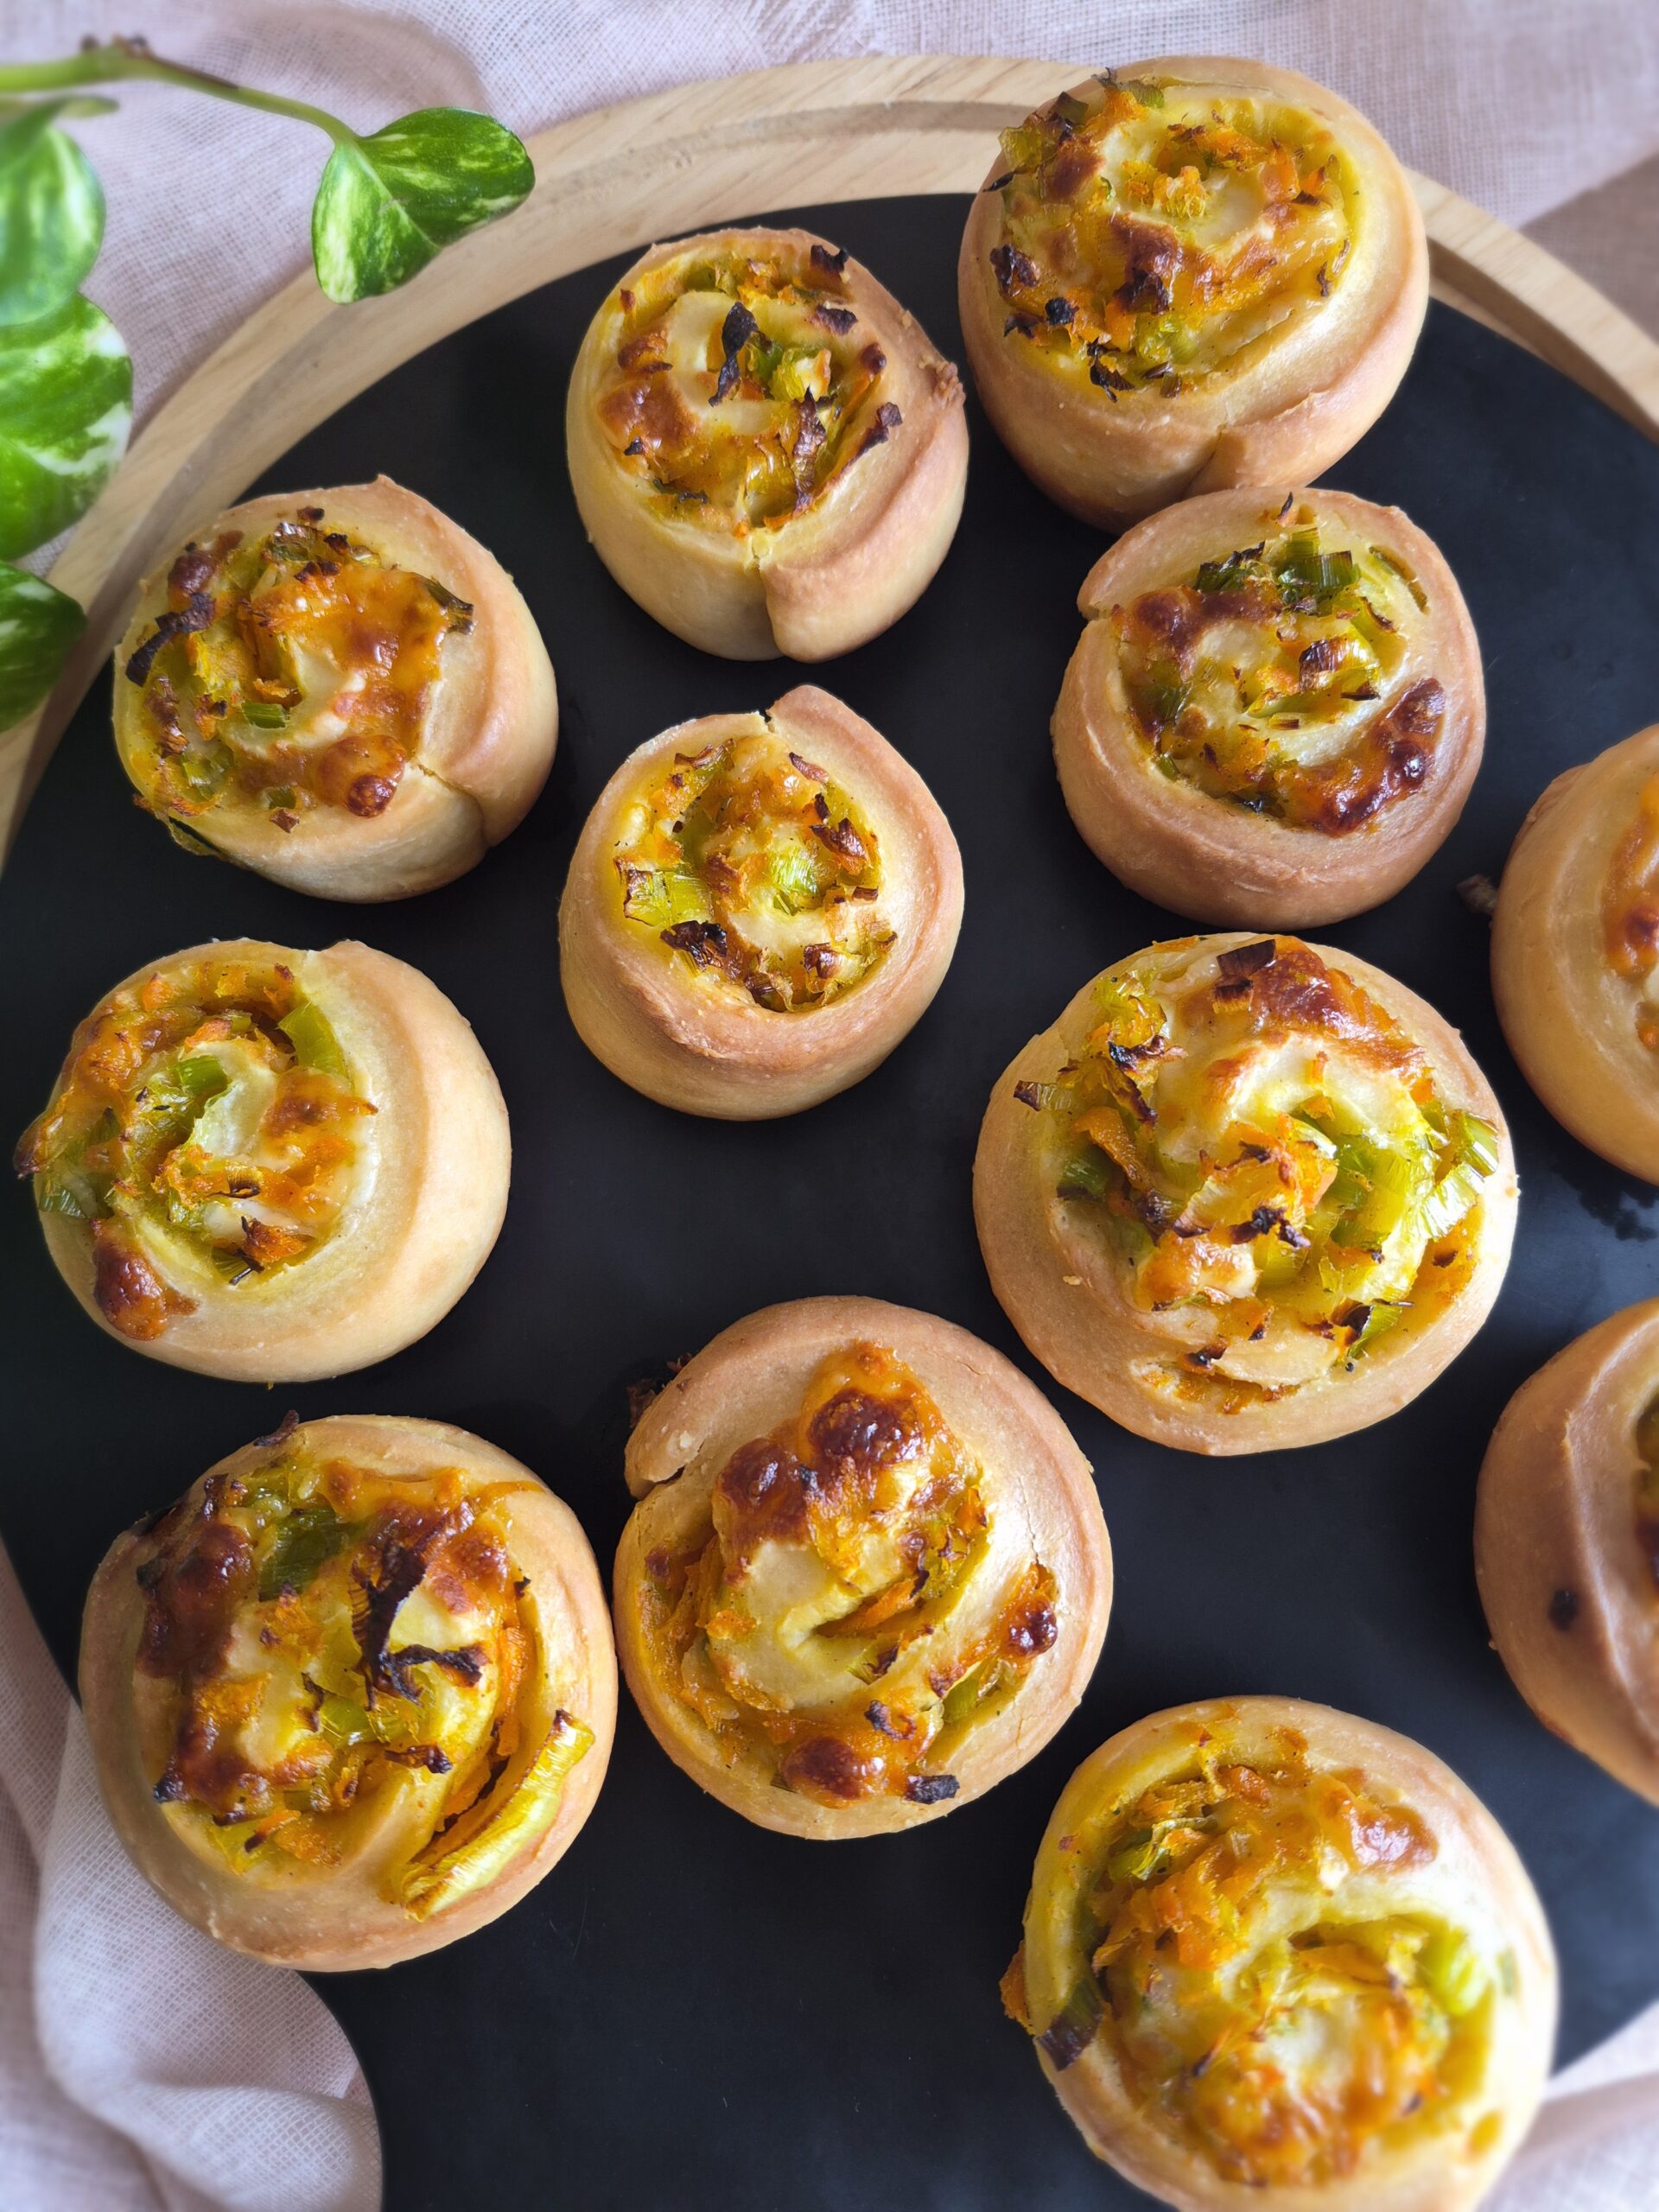
I love exploring how one technique can take many forms. These savoury swirl muffins are a smaller, everyday version of a rolled bake — simple ingredients, soft dough, and a filling that works especially well in winter.

There’s something deeply comforting about rolled dough filled with warm vegetables. This winter veggie roll brings together olive oil–yogurt dough and a gentle, wintery vegetable filling for a bake that’s simple, seasonal, and quietly satisfying.
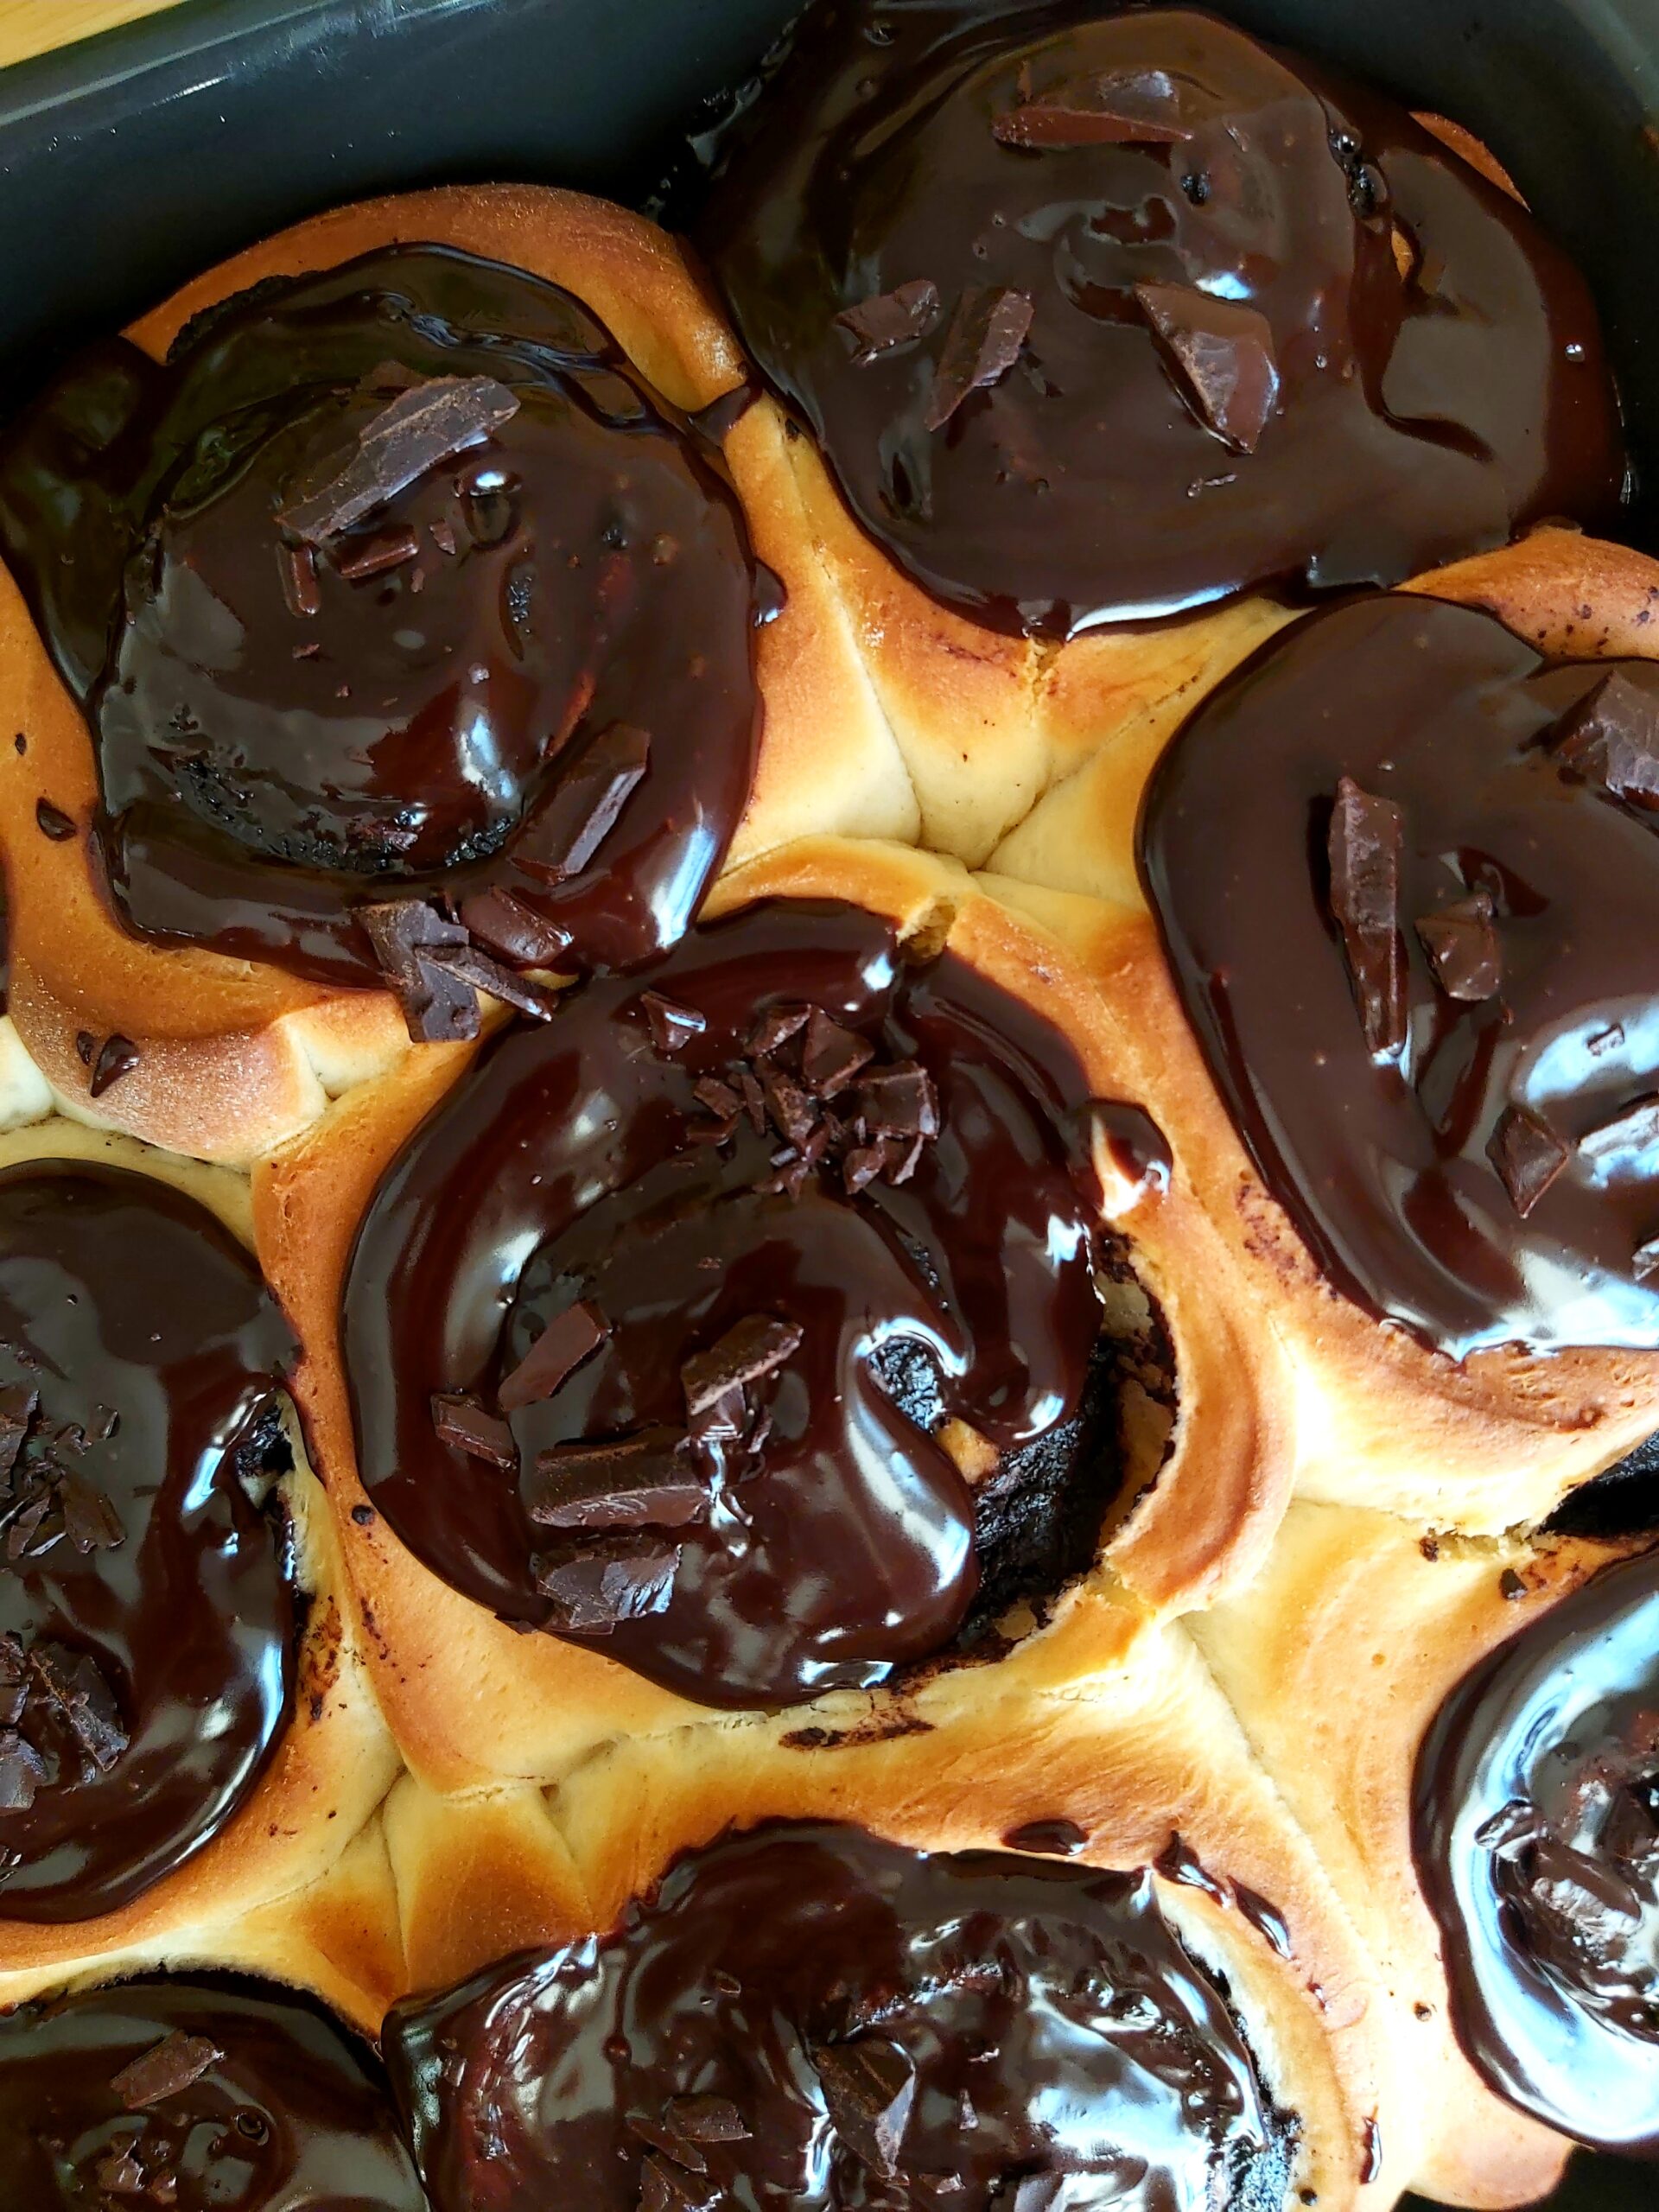
If you love soft cinnamon rolls but want something richer and more chocolatey, these Chocolate Cinnamon Rolls are the perfect upgrade. The cinnamon doesn’t compete with the chocolate— it deepens it, creating a balanced, velvety filling. With a straightforward dough and foolproof ganache, this recipe is ideal for anyone who wants a baker-style result.
Comments