1. Activate the Yeast
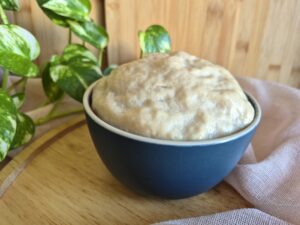
In a small mixing bowl, dissolve the yeast with 1 teaspoon of sugar in 4 tablespoons of lukewarm water. Let it stand until foamy, which will take about 5–10 minutes. This step ensures your yeast is alive and ready to leaven the dough. If it is not foamy, start with new yeast.
I consider this moment to be the first structural signal of the dough. If the yeast does not foam evenly, the entire texture later becomes less predictable.
2. Make the Dough
In a large bowl, combine 550 grams of plain flour, ½ teaspoon of salt, 1 teaspoon of cinnamon, and 75 grams of caster sugar.
Add the activated yeast, 220 millilitres of lukewarm milk, 30 grams of yogurt, 1 egg, and 75 grams of unsalted butter.
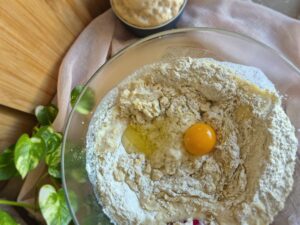
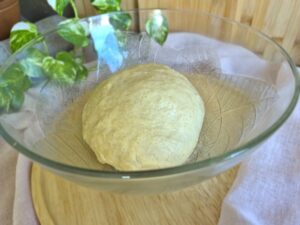
Knead with the dough hook of the mixer for 5–7 minutes (or 8–10 minutes by hand), until a smooth and elastic dough forms. The dough should feel soft and slightly tacky, but not sticky.
Kneading here is less about smoothness and more about building elasticity strong enough to hold heavy fillings without tearing during rolling and baking.
3. First Rise
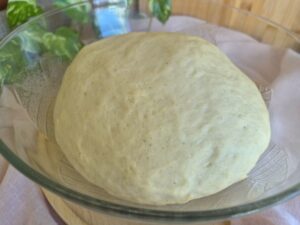
Transfer the dough to a lightly greased bowl, cover it with a tea towel, and let it rise in a warm place for 1 hour, or until doubled in size.
The first rise is where the dough develops its internal strength. I pay attention not only to an increase in volume, but also to how the dough relaxes into itself, which later determines how it expands around the filling.
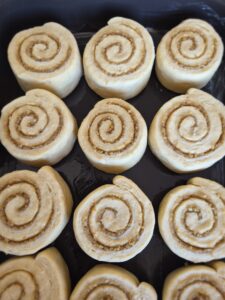
4. Shape the Dough
Once risen, gently deflate the dough and proceed with the filling and shaping instructions of your chosen recipe.
At this point, the dough is ready to be rolled, filled, shaped, and baked according to the chosen recipe.
____________________________________
I return to this dough whenever I need a soft, enriched base that can carry fillings without collapsing its structure.
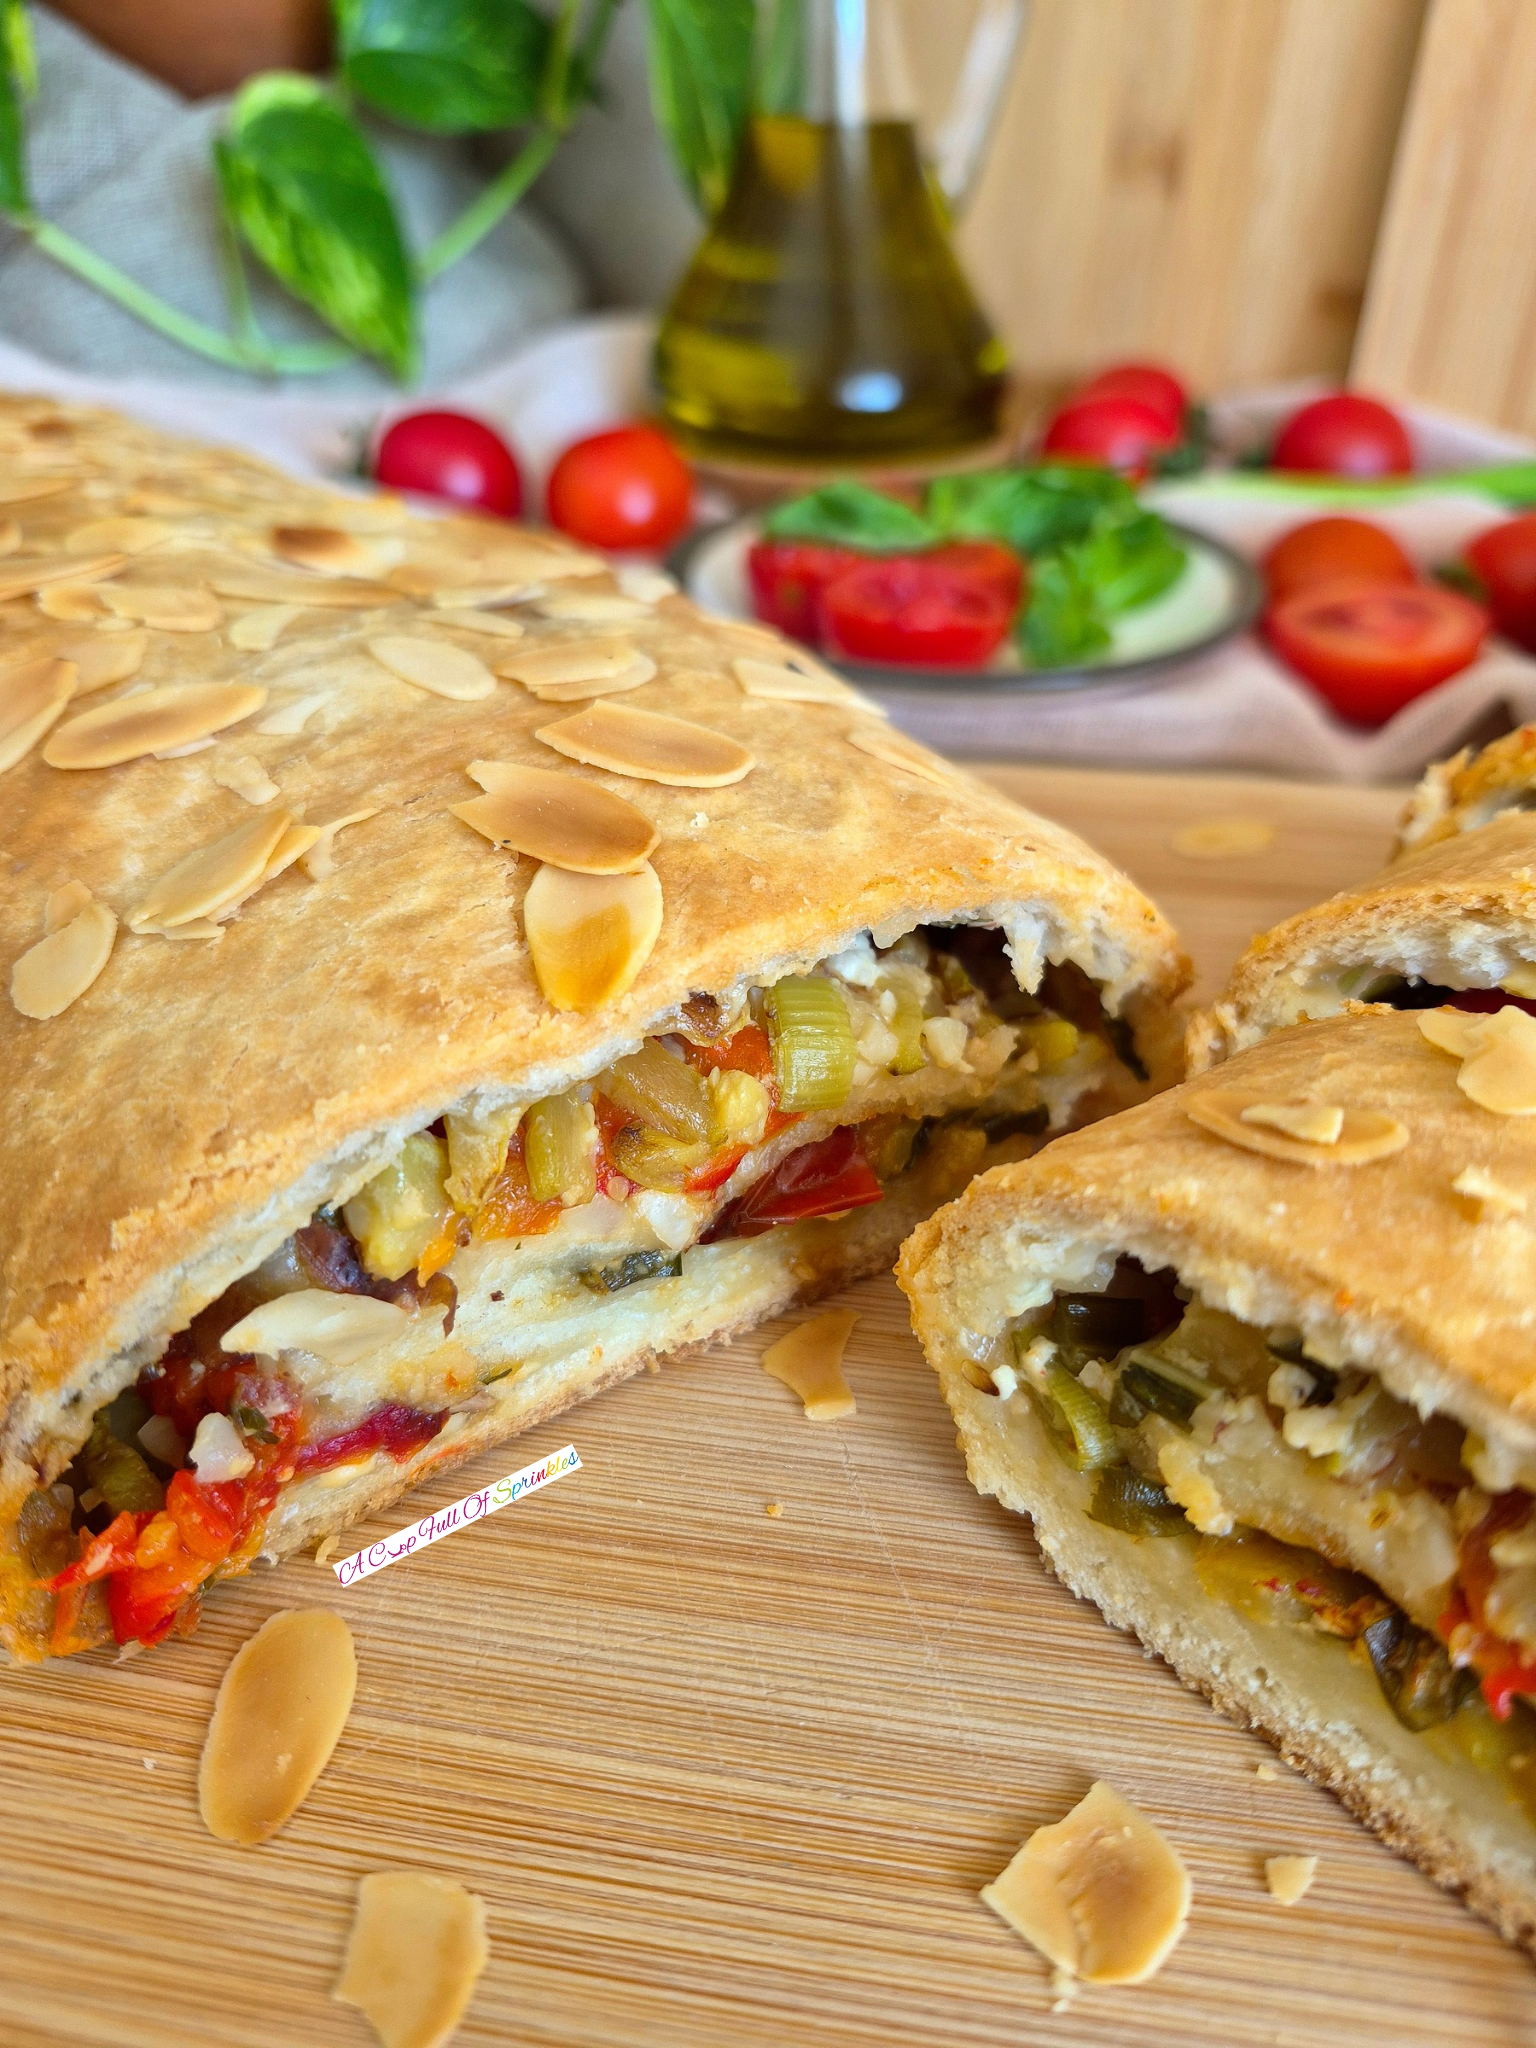
This dough works best when you want:
It is especially suitable for:
This is a dough I use year-round, but it shines particularly well for weekend baking, festive tables, and make-ahead rolls.
What connects all of these variations is not the filling, but the dough’s ability to remain tender while absorbing moisture from what it surrounds.
In that sense, this dough is less a recipe and more a starting architecture for different kinds of softness.
Understanding how a dough behaves is more important than strict timings.
This sweet roll dough:
Because of its enrichment, it remains moist for longer than lean doughs and reheats well the next day.
The softness is not an accident, but comes fromthe balance between fat content and gluten development, which prevents the crumb from tightening during baking.
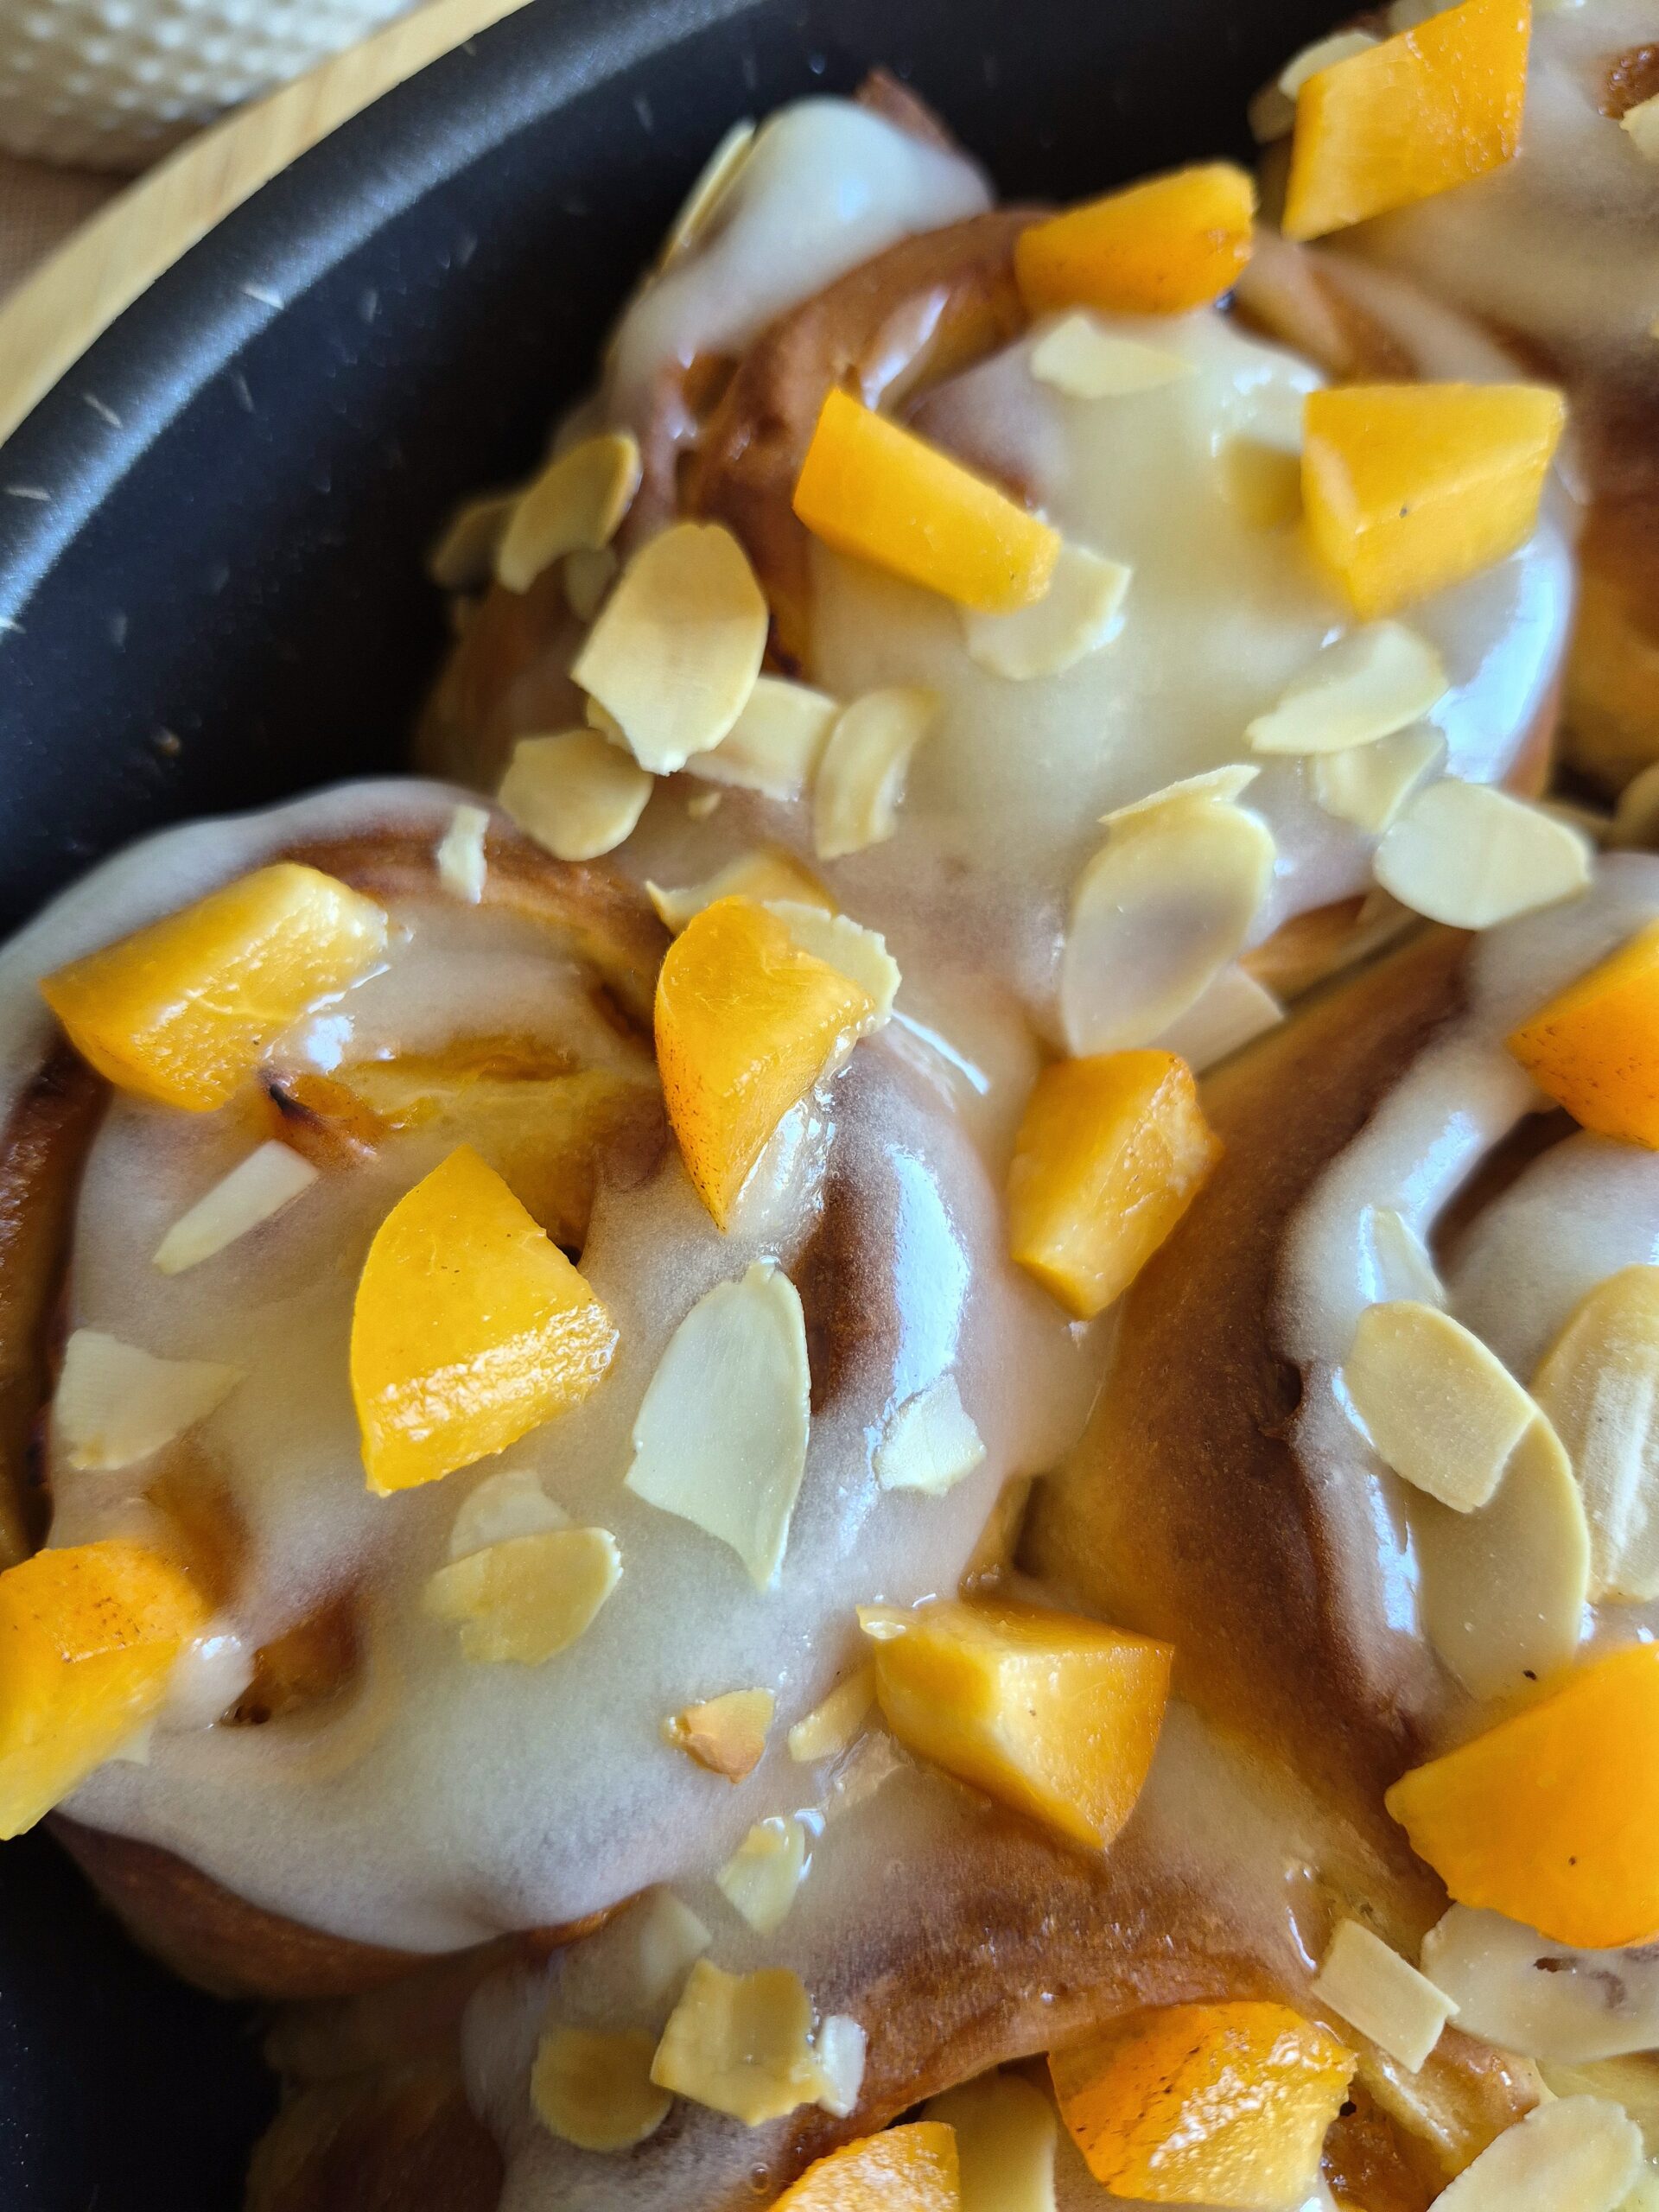
Without changing the base structure, you can adapt this dough easily:
These changes allow you to tailor the dough to different fillings without compromising its structure.
Once filled, the dough no longer behaves as an isolated structure but responds to moisture migration from the filling.
The following recipes on the blog are all based on this same sweet rolls dough.
This list grows as new recipes are added.
Dough feels too sticky → Lightly oil your hands and work surface instead of adding more flour.
Rolls open during baking → Roll the dough tightly and place rolls seam-side down in the pan.
Filling leaks out → Avoid overfilling and finely grind nut fillings for better cohesion.
Rolls bake unevenly → Use a light-coloured baking dish and rotate the pan if needed.
This basic sweet roll dough is part of my broader approach to rolled baking: one reliable base dough combined with seasonal fillings, flavour pairings, and shaping techniques.
You will see this dough referenced across many recipes on the blog, making it easier to move from one sweet roll to another without learning a new dough each time.
Once you are comfortable with this base, the focus shifts from “learning a recipe” to understanding a system.
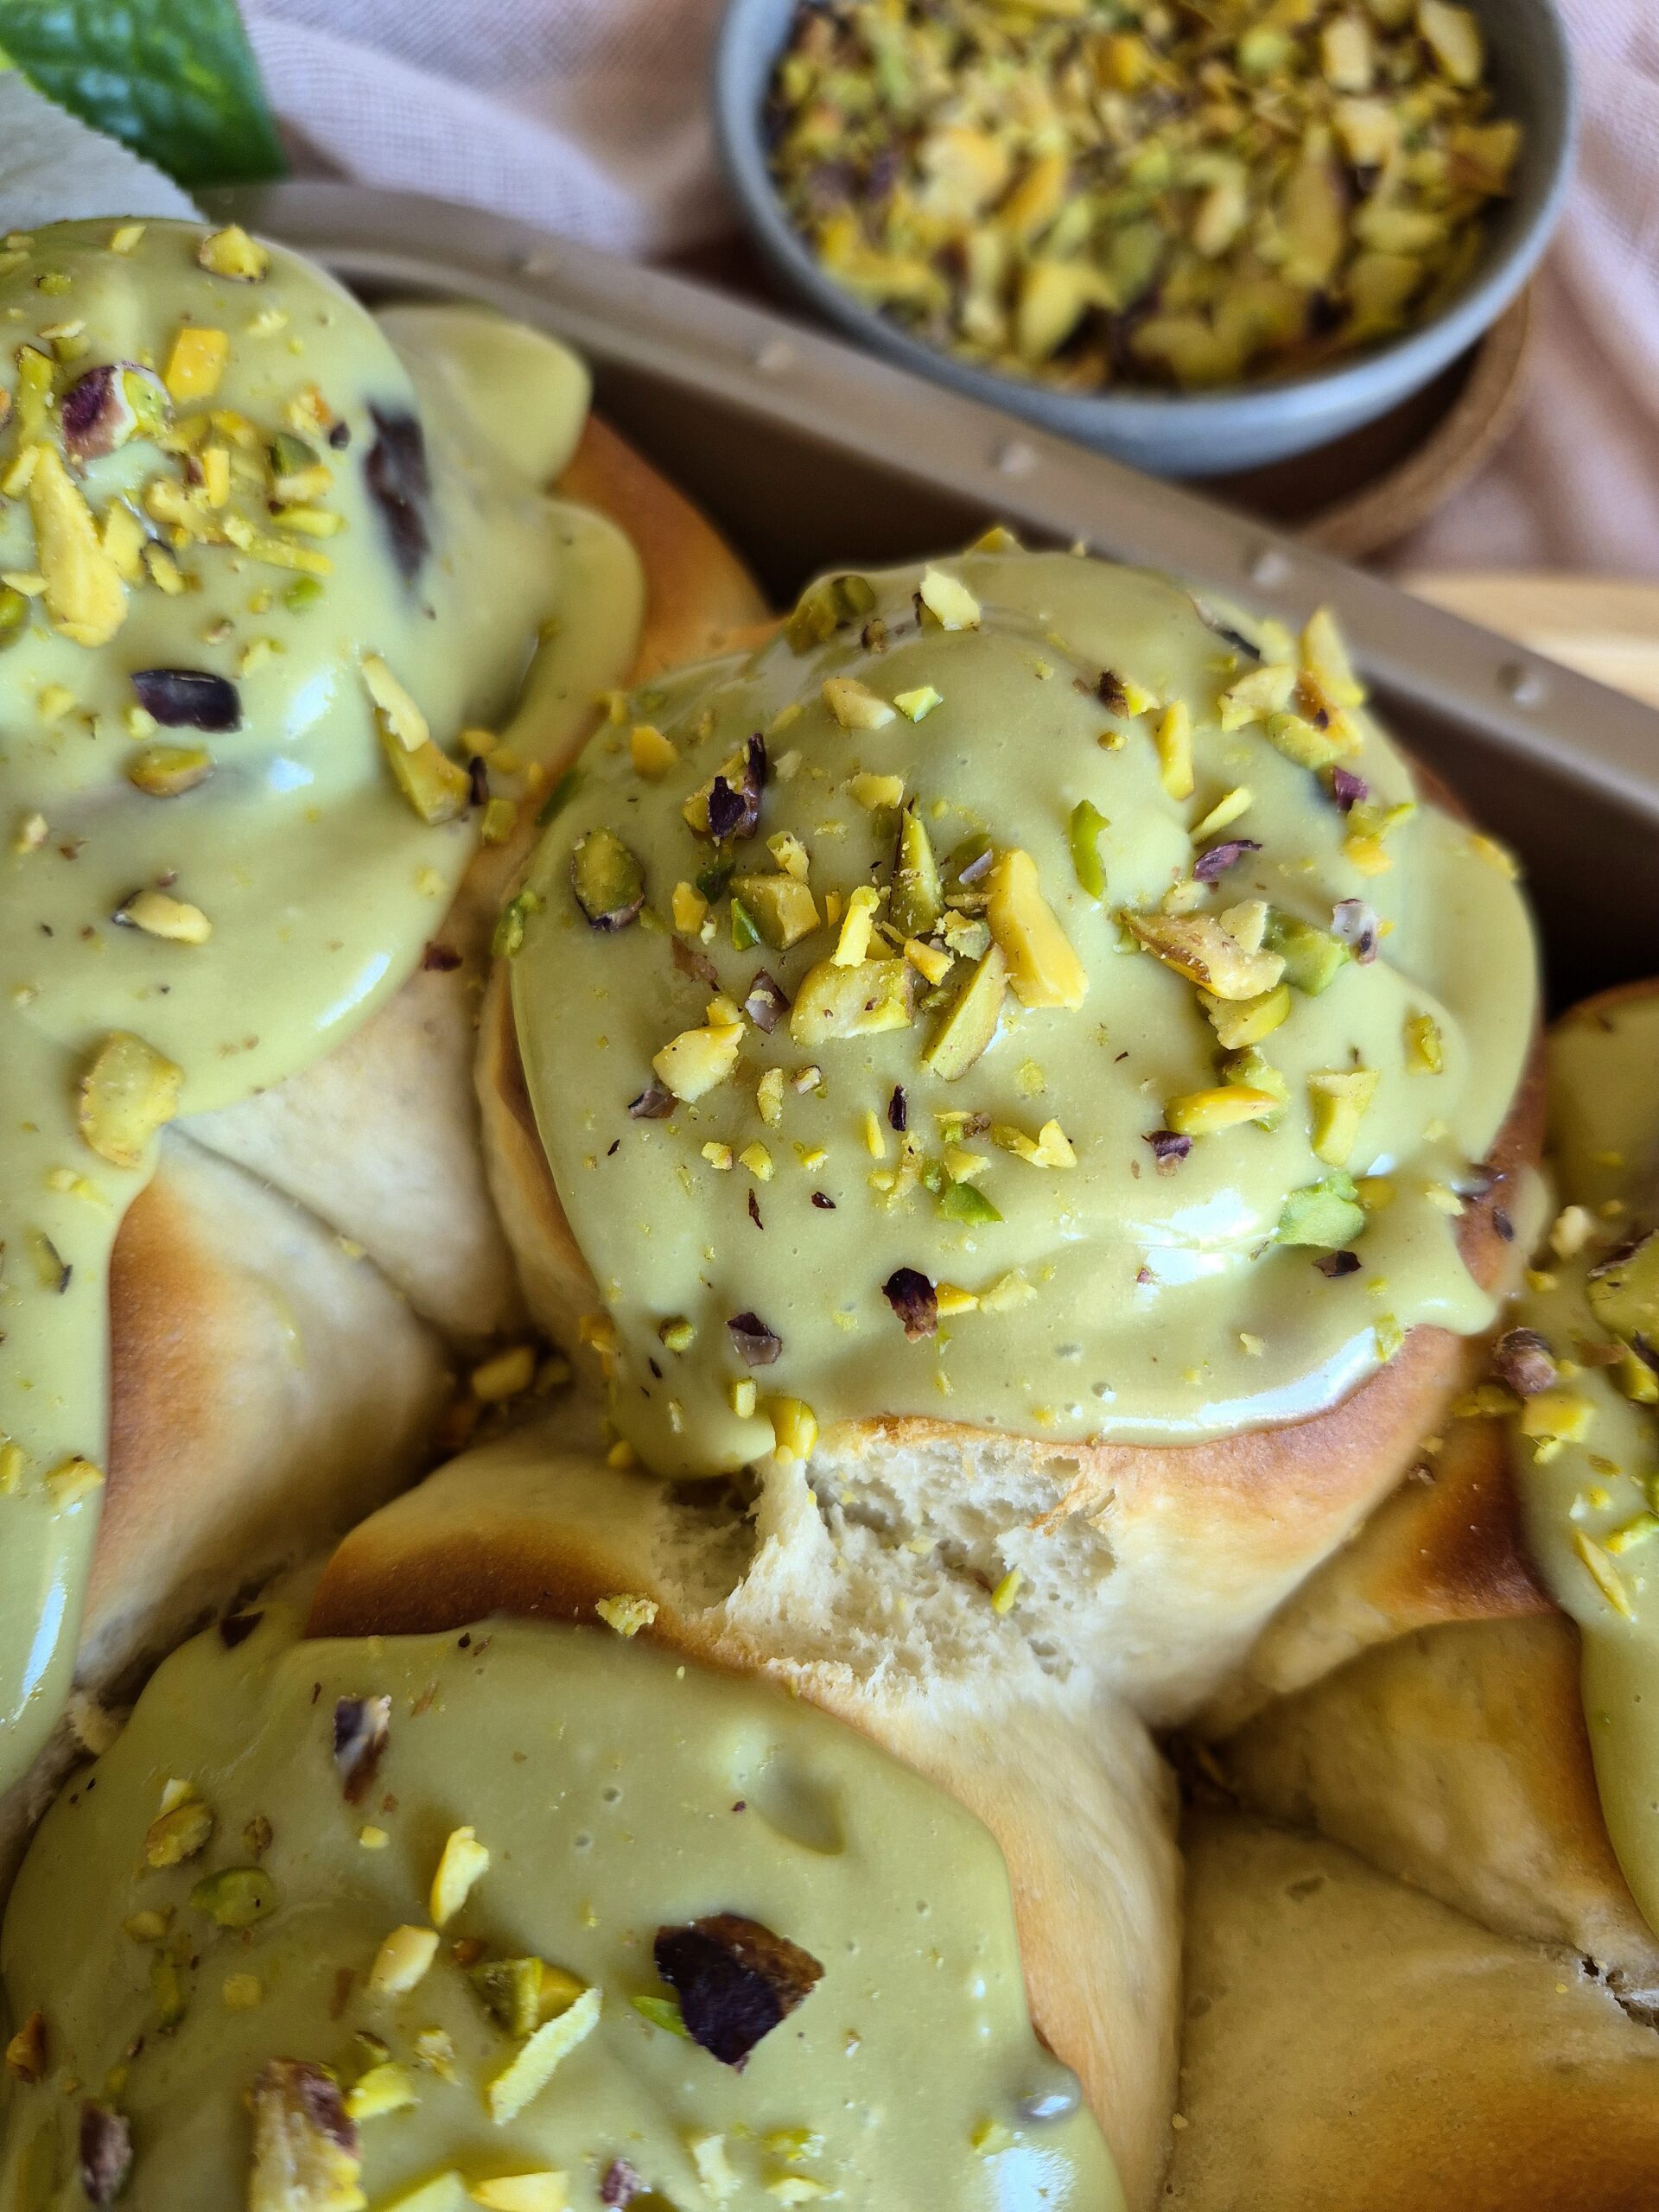
If this is your first time using this dough, I recommend starting with:

Both recipes showcase how versatile and forgiving this dough is.
What I look for is not just volume after baking, but whether the dough has managed to hold its shape while quietly absorbing everything it was filled with.
This page is designed to be bookmarked and revisited.
It will continue to evolve as new sweet roll variations are added, serving as a central reference point for rolled baking on the blog.


Comments