
1. Prepare the Chocolate Shells
Melt 60 grams of milk chocolate with 1 teaspoon of coconut oil in a heatproof bowl over a water bath. Ensure they are fully combined. Spoon the melted chocolate into the hemisphere moulds, making sure it evenly covers the inside of each mould. Tip out any excess chocolate. Let the moulds rest in the refrigerator for approximately 30–60 minutes, or until firm.
2. Prepare the Coconut
Heat a skillet or pan over medium heat. Add the desiccated coconut to the pan and toast them, stirring constantly. Toasting the coconut enhances its flavour. Watch the coconut closely, as it can quickly burn. Remove it from the heat as soon as it reaches the desired level of roasting. Set the coconut aside and allow it to cool completely before continuing.
3. Make the Filling
In a saucepan, heat the whipping cream, avoiding boiling. Remove it from the heat and pour it over 200 grams of chopped white chocolate. Let it stand for 2 minutes, then stir gently until smooth and glossy. Fold in the cooled toasted coconut.
Allow the filling to cool to room temperature. It should become slightly thicker but still be pipeable.
4. Fill the Shells
Transfer the filling to a piping bag and fill each chocolate shell, leaving for about 2–3 mm at the top for the chocolate base.
Refrigerate the shells for 4–6 hours, or preferably overnight.
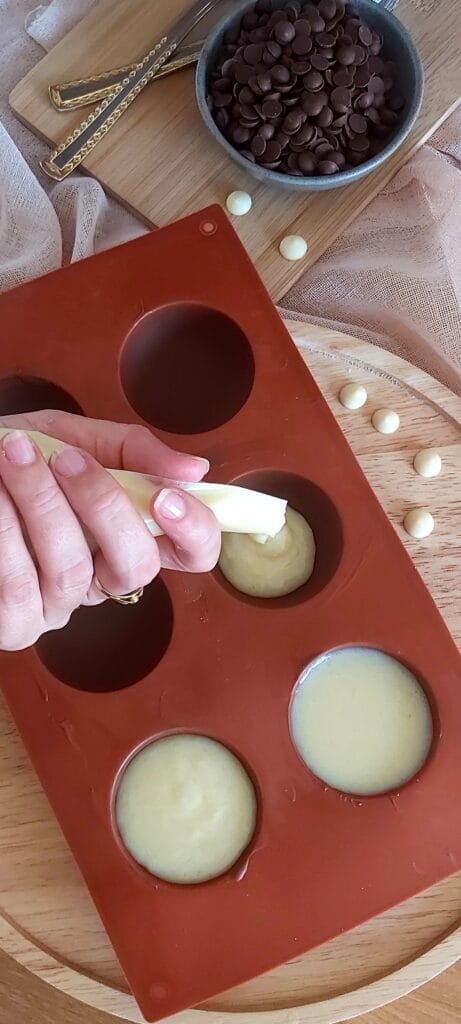
5. Finalize
Melt 80 grams of milk chocolate and one teaspoon of coconut oil in a heatproof bowl over a water bath. Using a piping bag or a spoon, spread the melted chocolate onto the filling, sealing the cakes. Let the cakes set for one hour until the chocolate hardens.
6. Unmould and Garnish
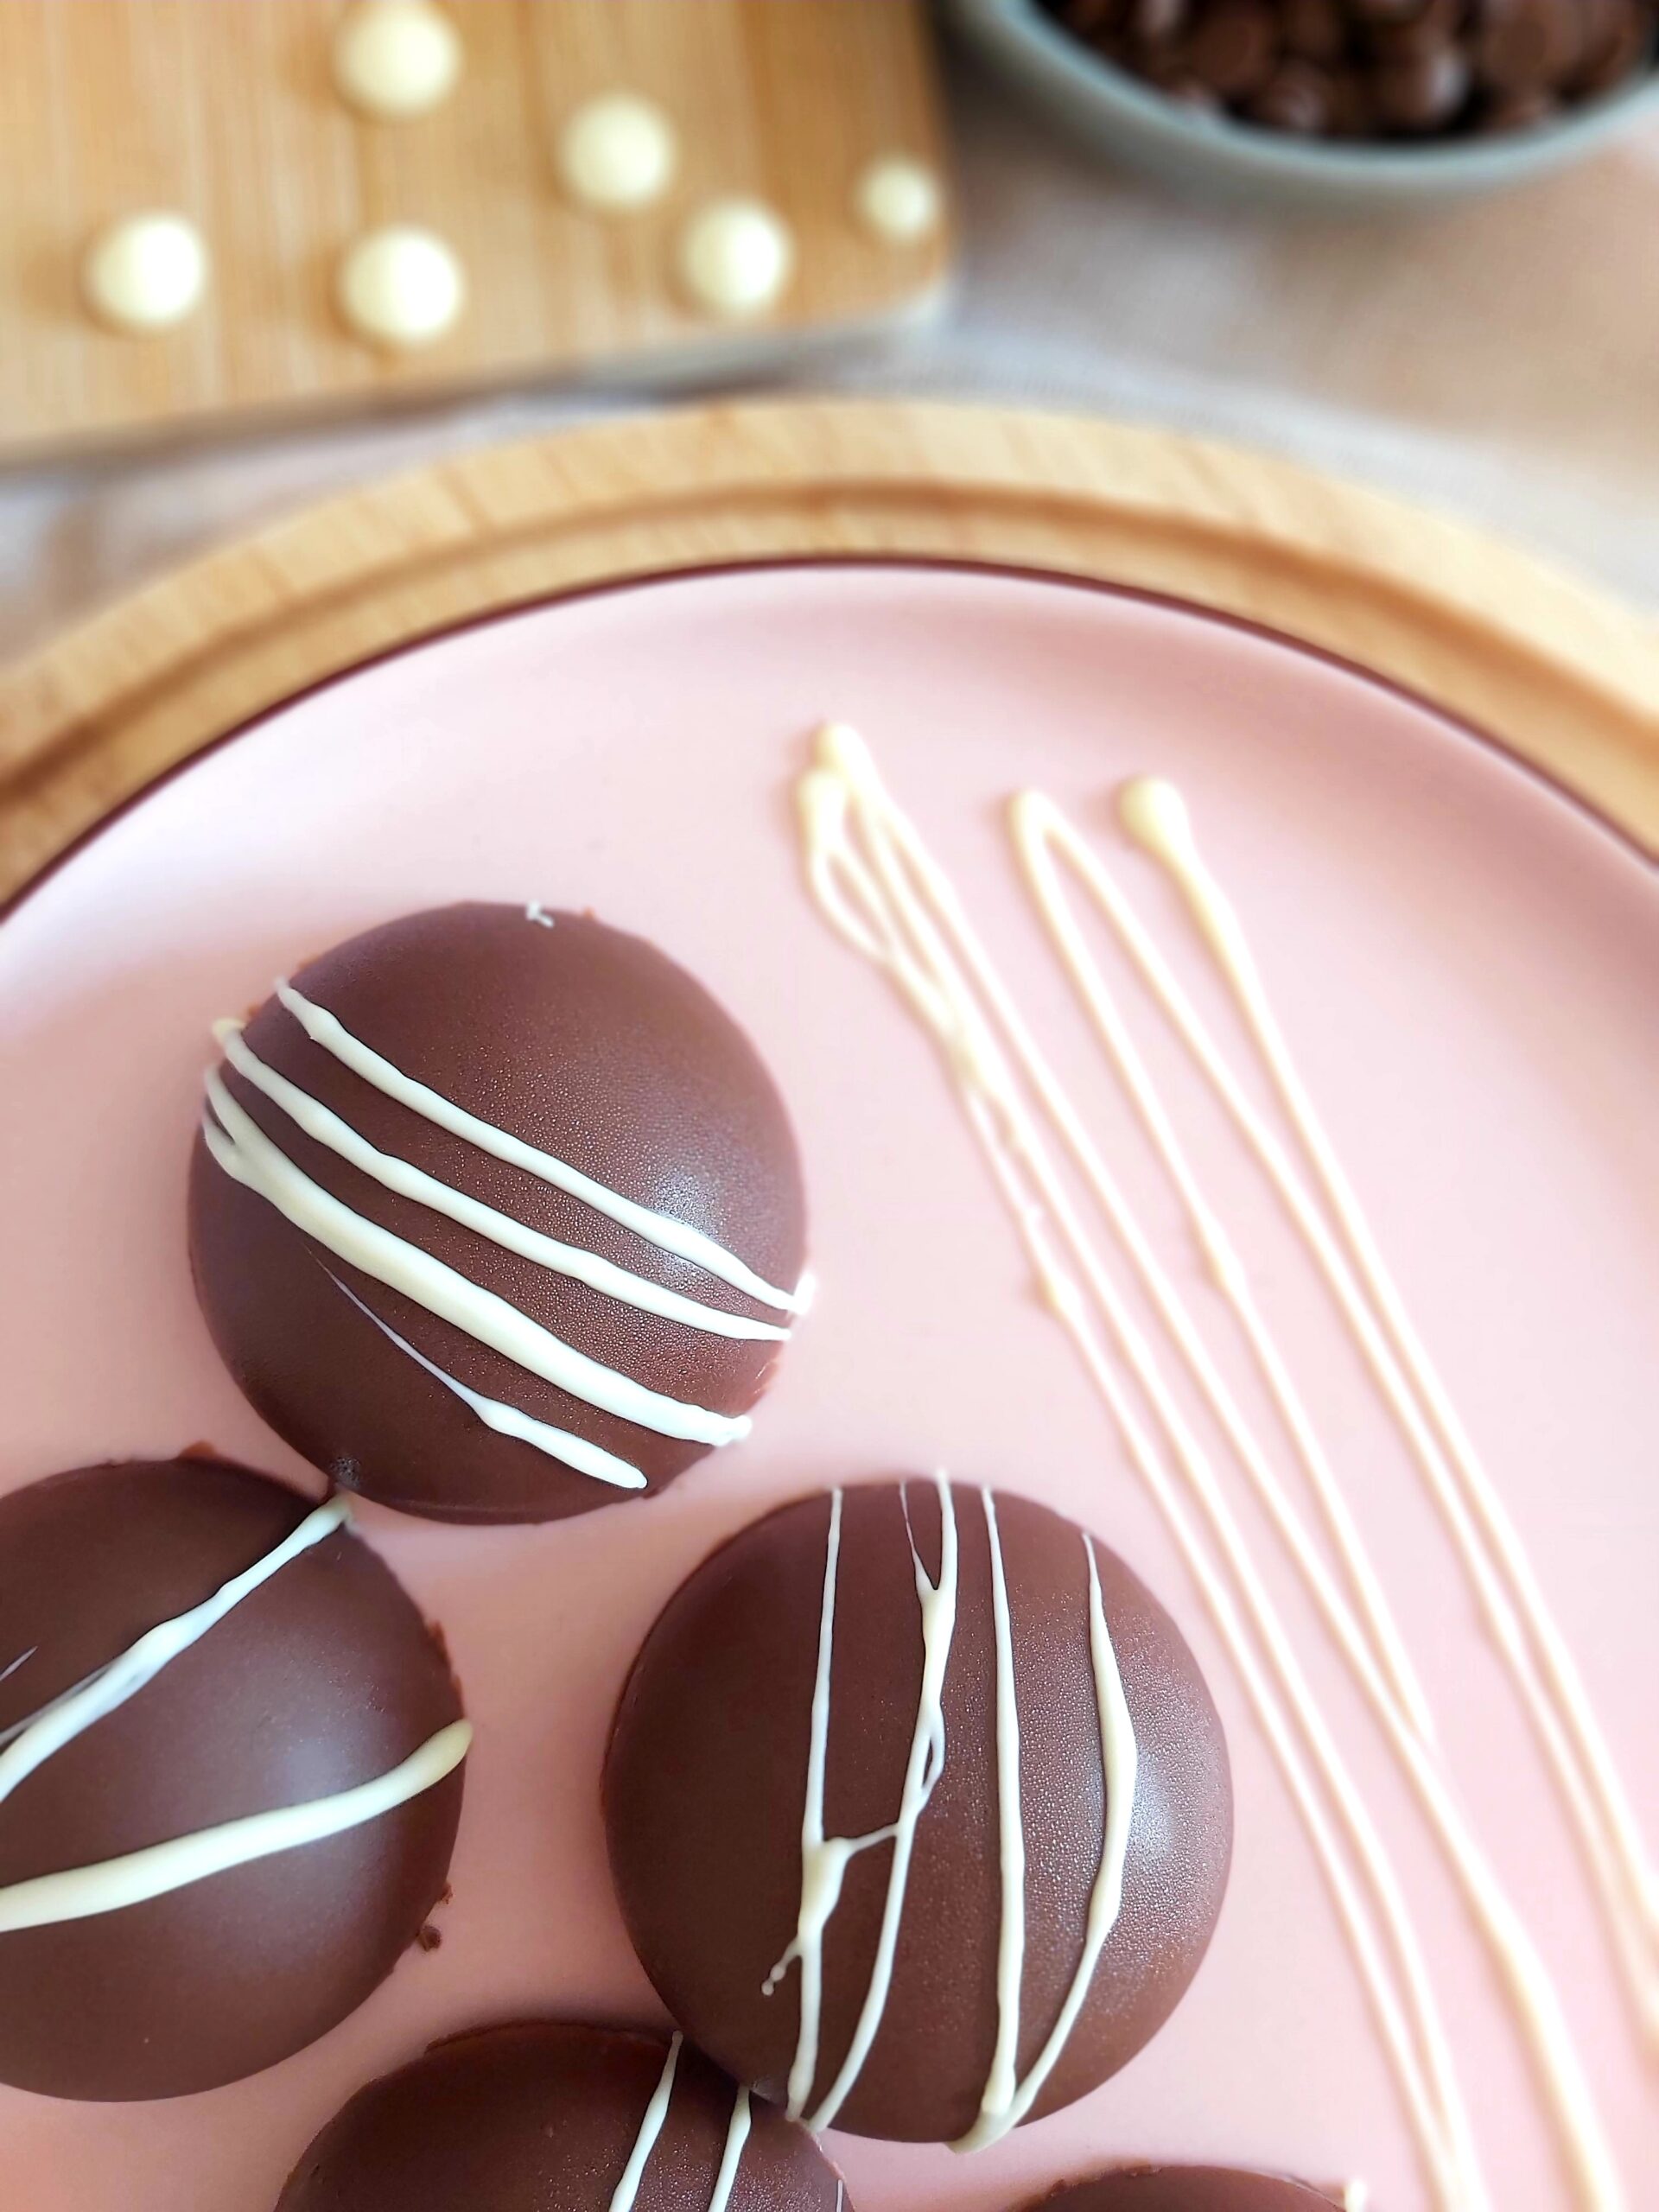
Once the chocolate is set, gently remove the Chocolate Coconut Cream Domes from the moulds and arrange them on a plate or tray. Melt 30 grams of white chocolate and 1 teaspoon of coconut oil and drizzle it over the cakes. Allow the garnish to set before serving.
These Chocolate Coconut Cream Domes are simple to make, but patience is key. Allow enough time for the chocolate shells to harden completely before filling them, and let the filling chill until firm. The result is a crisp chocolate shell with a smooth, creamy coconut centre.
These Chocolate Coconut Cream Domes are perfect for making in advance. Prepare them up to 3 days before serving and store them in the refrigerator. The flavours develop beautifully as they chill, making them an ideal dessert for parties, holidays, or special occasions.
Store the chocolate domes in an airtight container in the fridge for up to 5 days. For the best texture, let them sit at room temperature for about 10–15 minutes before serving.
Can I freeze them? Yes! Freeze the domes in a freezer-safe container for up to 2 months. Separate the layers with baking parchment if stacking them. Thaw overnight in the refrigerator before serving.
Can I use unsweetened coconut instead of sweetened? Yes. Desiccated coconut works perfectly, whether sweetened or unseetened. Toasting it enhances the flavour either way.
Can I make the filling ahead of time? Yes. Prepare the filling a day in advance and refrigerate it. Let it soften slightly at room temperature before piping if it becomes to firm.
Do I have to toast the coconut? No, but it’s highly recommended. Toasting brings out the coconut’s natural sweetness and gives the filling a richer flavour.
You may also like
No-Bake Chocolate Ganache Cake
If you’re looking for an easy yet impressive no-bake dessert, these Chocolate Coconut Cream Domes are a wonderful choice. With their crisp chocolate shell, creamy coconut filling, and beautiful finish, they’re perfect for sharing with family and friends or serving on special occasions.
If you give this recipe a try, I’d love to hear how it turned out! Leave a comment below. Happy baking!
Comments